Working with Leiningen
Leiningen has been the de-facto project management tool for Clojure for a long time now. Cursive provides great support for building and managing projects with Leiningen, here's how to use it.
Usually to start working with Leiningen you have to download it and install it. This can be a hurdle for new users, especially on Windows, so Cursive will automatically download it when you need it so you don't have to manually do so to get started.
Create a new project with Leiningen
To create a new project in IntelliJ, if you're at the welcome screen, click the "Create New Project" link, or if you already have a project open in IntelliJ you can use . In the following dialog, choose "Clojure" from the list of project types on the left-hand side. You'll then have a list of Clojure project types to choose from on the right. Here you can choose "Leiningen".

On the next screen, give your project a name and decide where to put it:
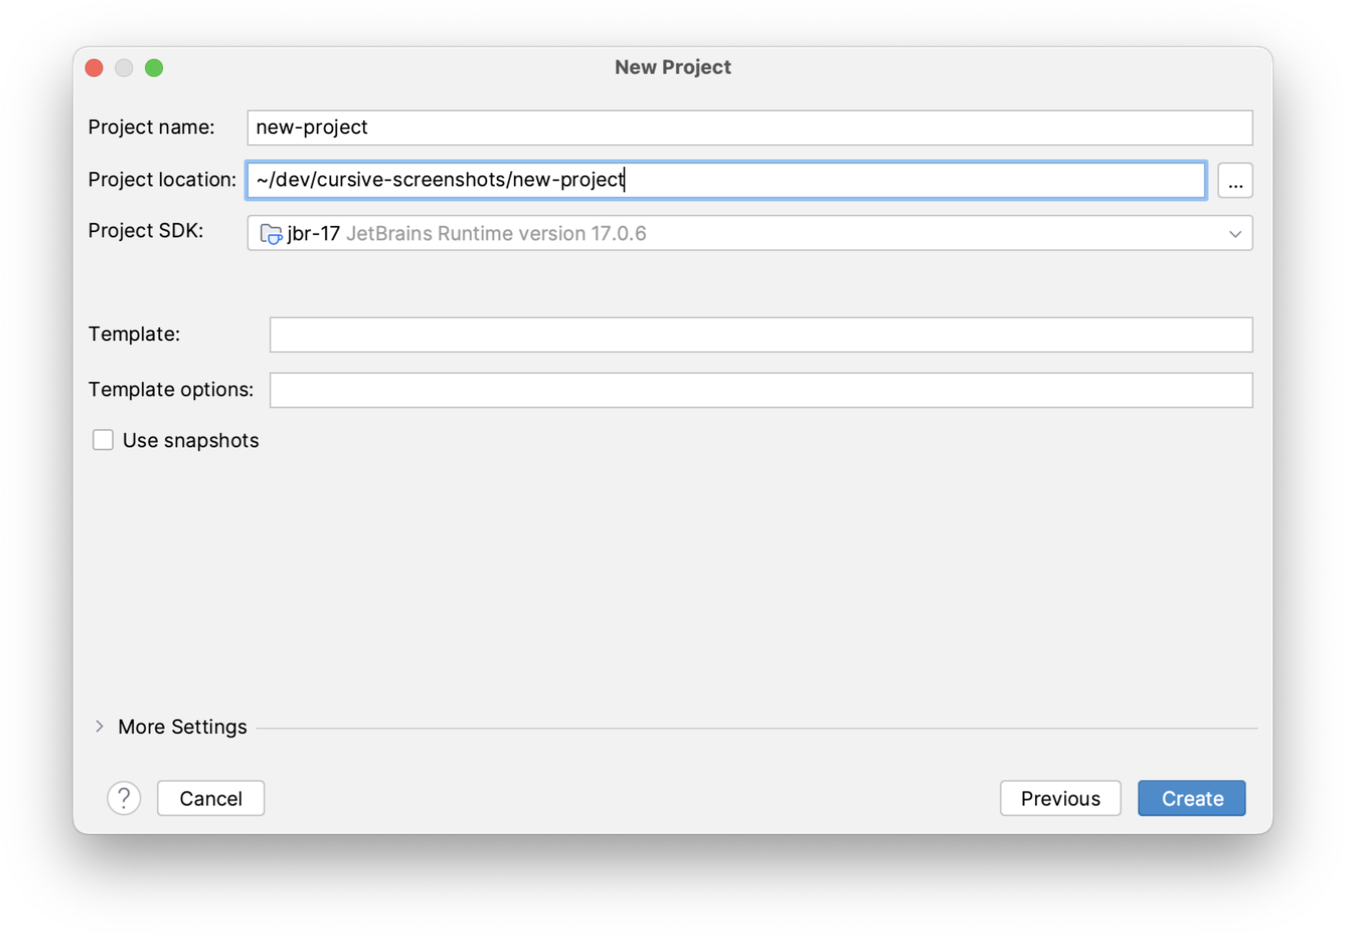
On this screen you're also asked to choose a "Project SDK". On the JVM, this means the JDK or JRE you want to use. If you have a JDK installed then click "New..." to set it up in IntelliJ, it will detect it automatically. If you don't have one already installed IntelliJ will create one for you which uses the JRE bundled with IntelliJ itself. This works fine for Clojure and means that you don't need to download a JDK to get started.
Here you also have some other options in case you want to create a project using a leiningen template. For example, if you want to create a project using Luminus and you want to do the equivalent of:
lein new luminus myapp +cljs +swagger +postgres
then you would enter "myapp" in the Project name field, "luminus" in the Template field, and "+cljs +swagger +postgres" in the Template options field. For a simple project, you can just leave the template fields blank.
Then, when you click "Finish" you'll have a new project to work with!
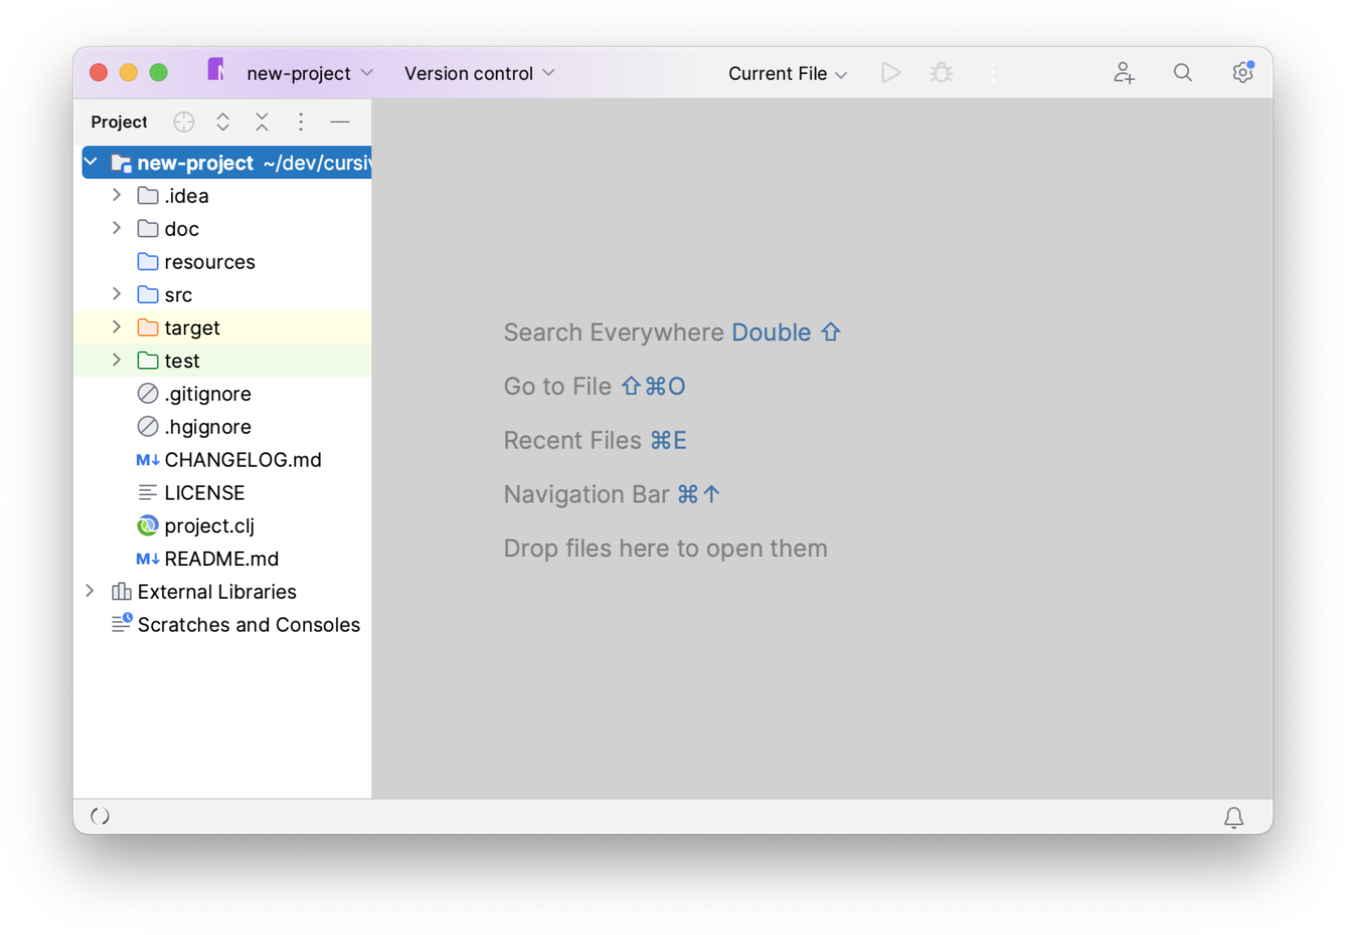
Quick project import
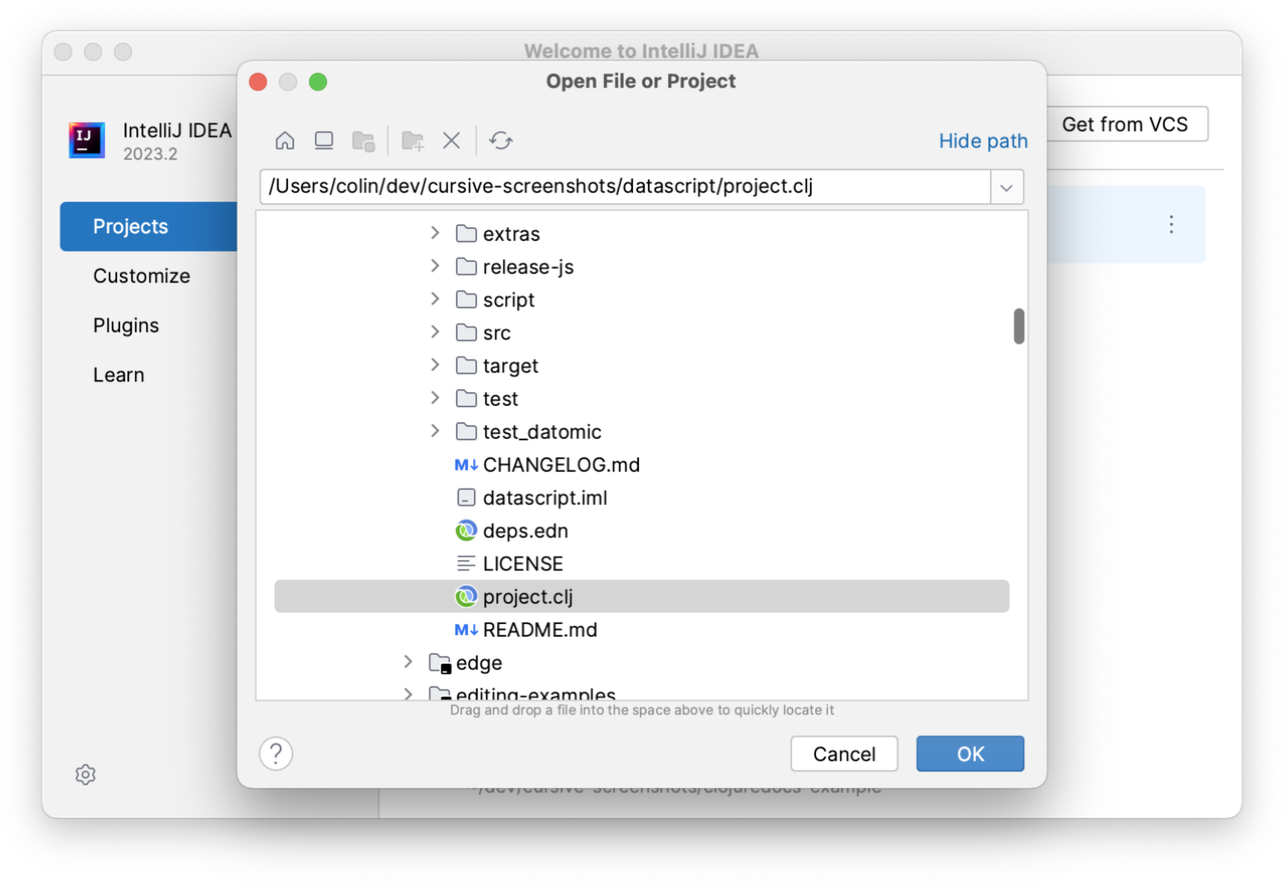
For most existing projects you don't need to explicitly import them. Just use or select
"Open File or Project" from the welcome screen, and select either the project.clj or the containing directory:
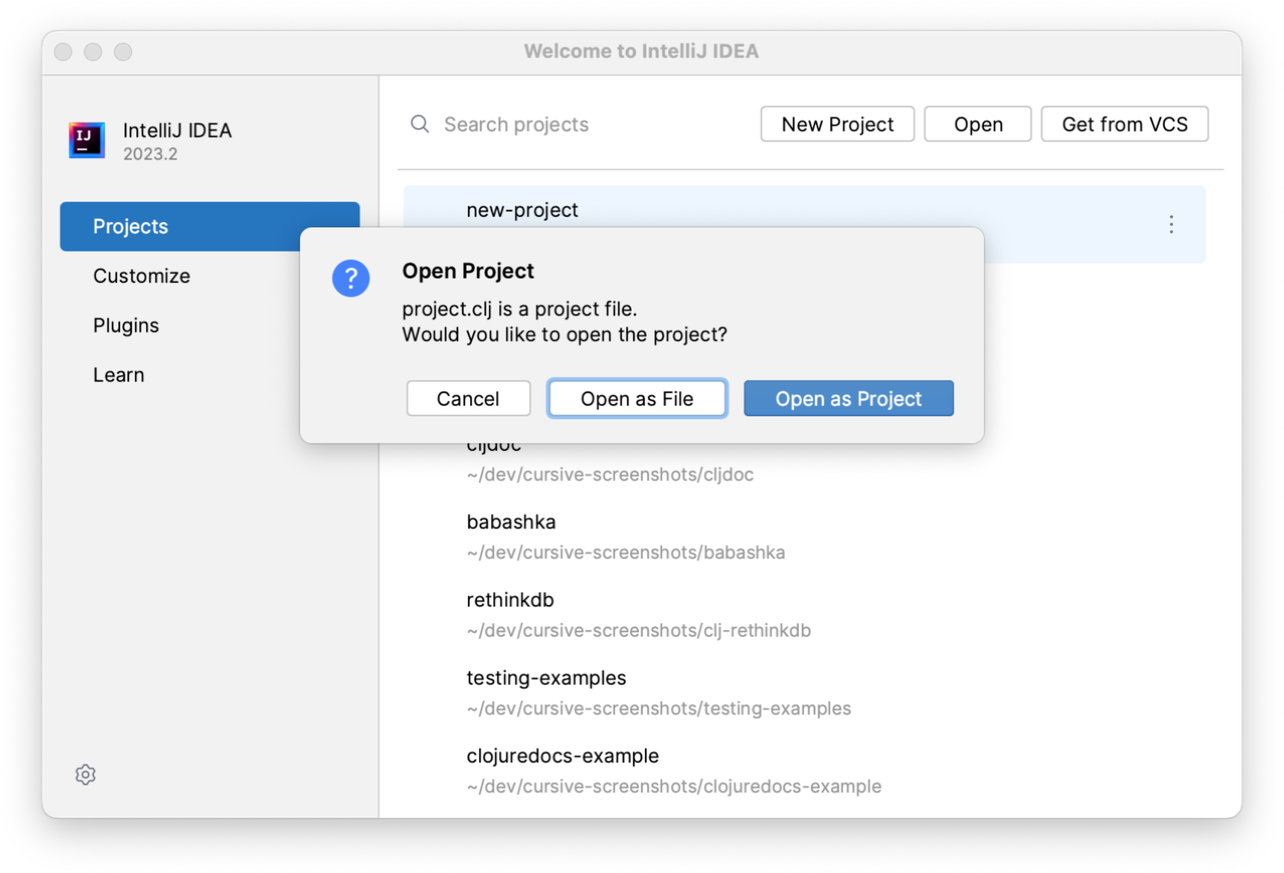
Confirm that you would like to open it as a project:
And your project will be automatically imported:
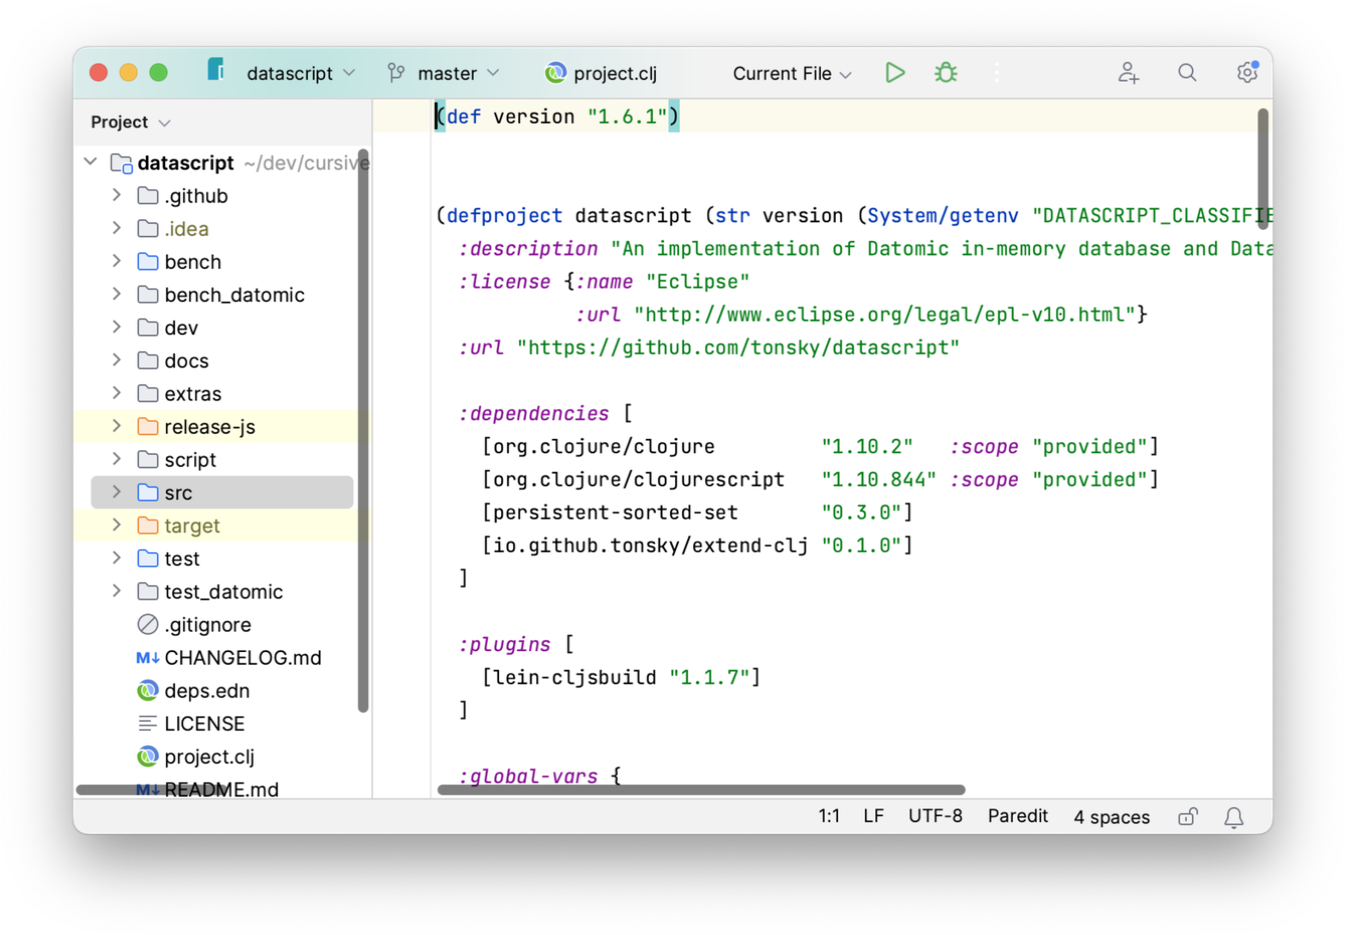
Import an existing Leiningen project
For more control over how your project is imported, you can use the Import Project workflow.
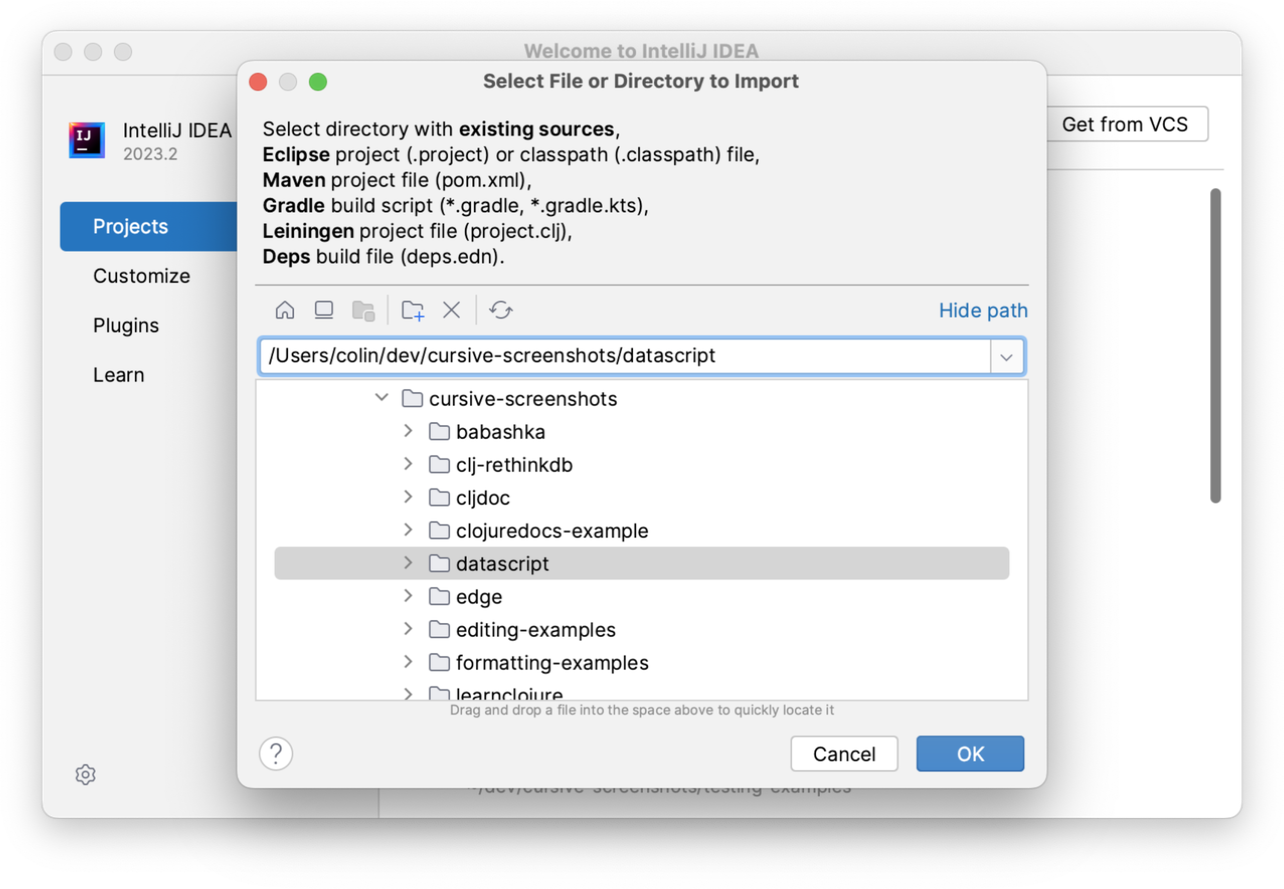
To do this you can use . Here, you can select either the project.clj file
or the directory containing it.
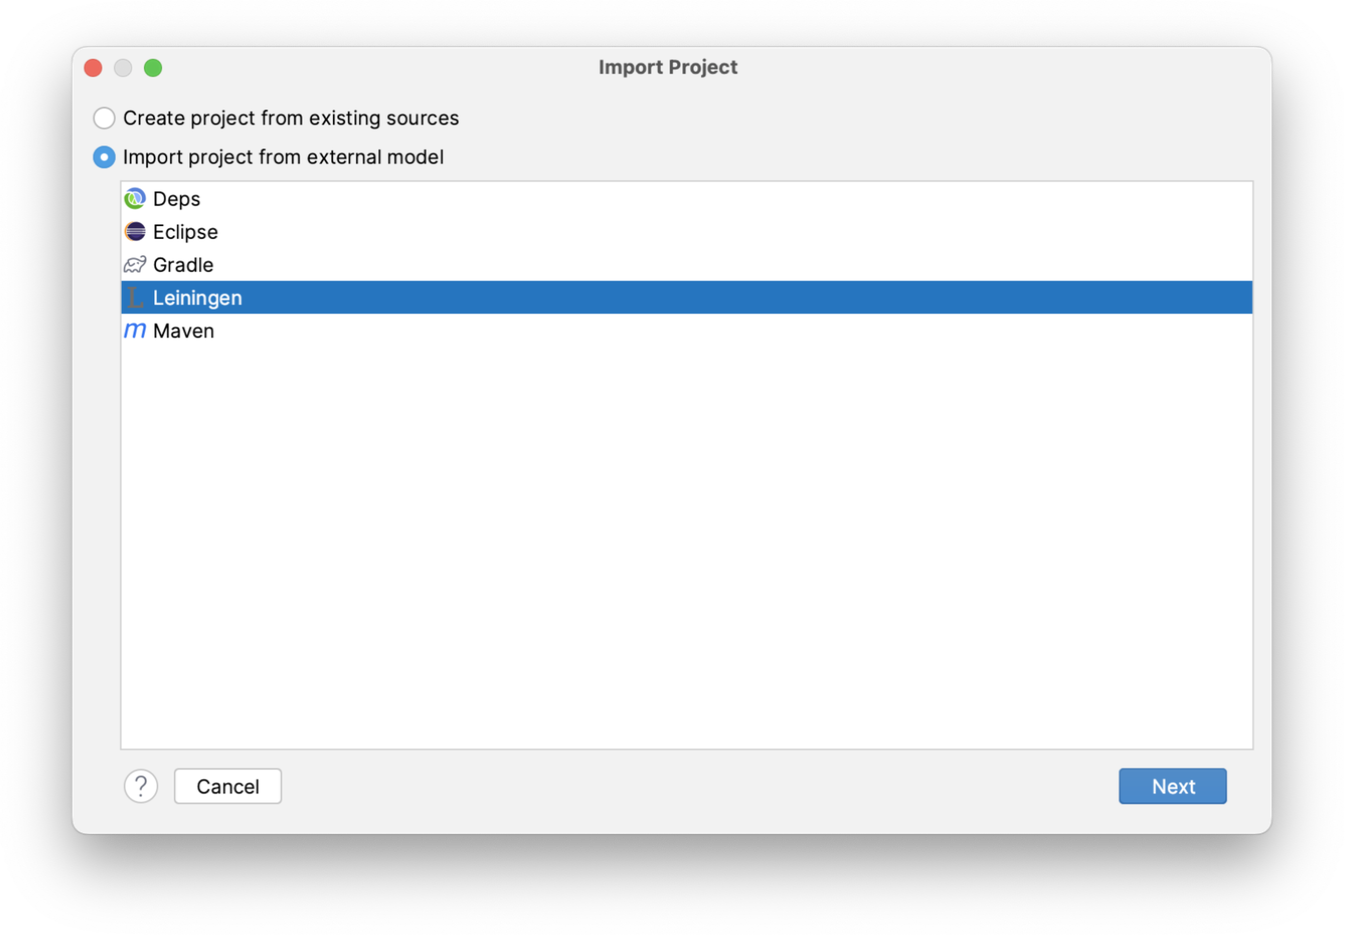
If required, select "Import project from external model" and select Leiningen.
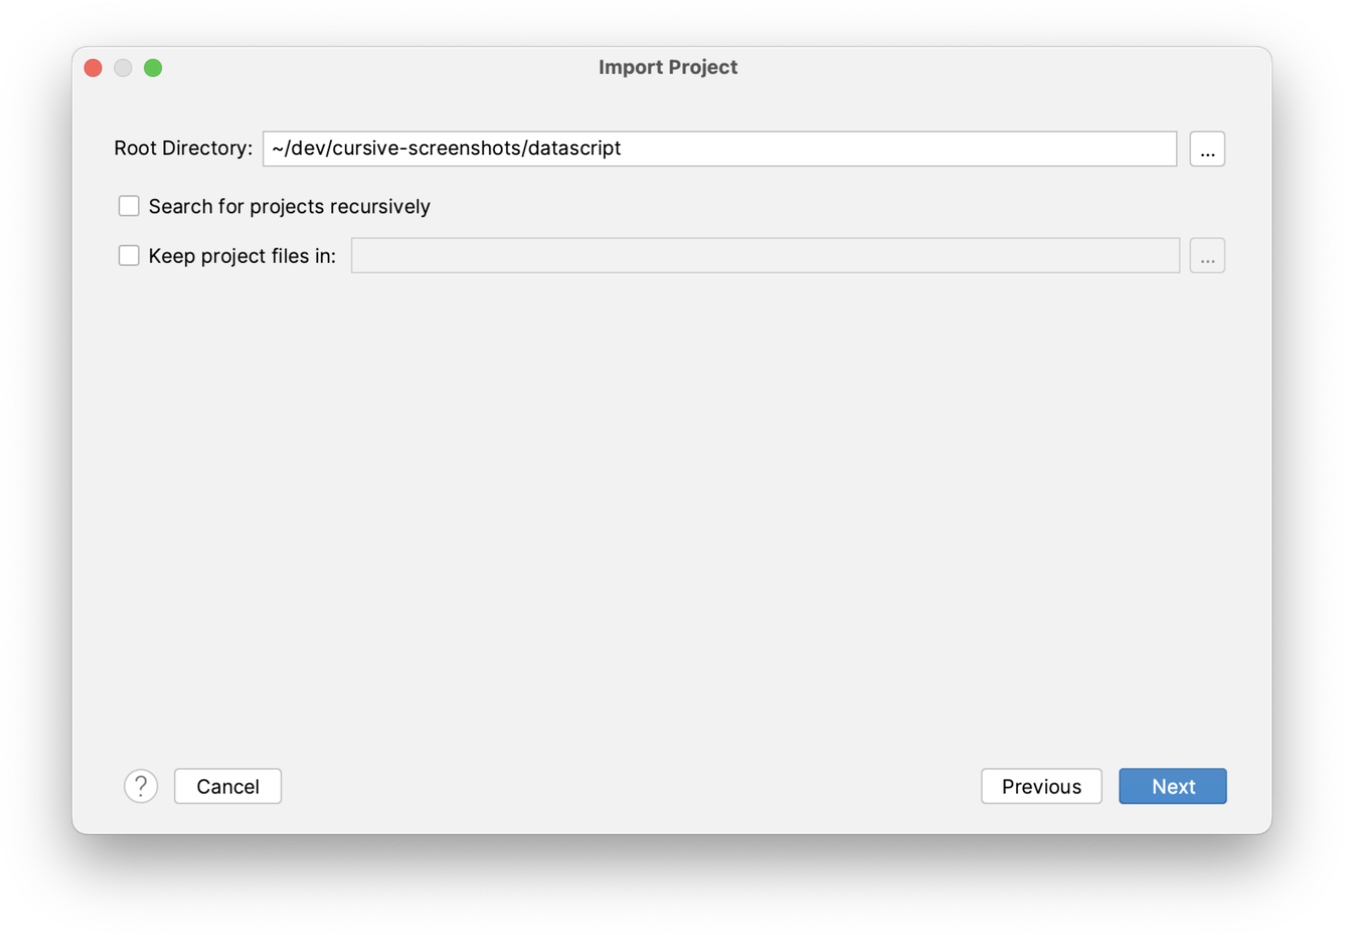
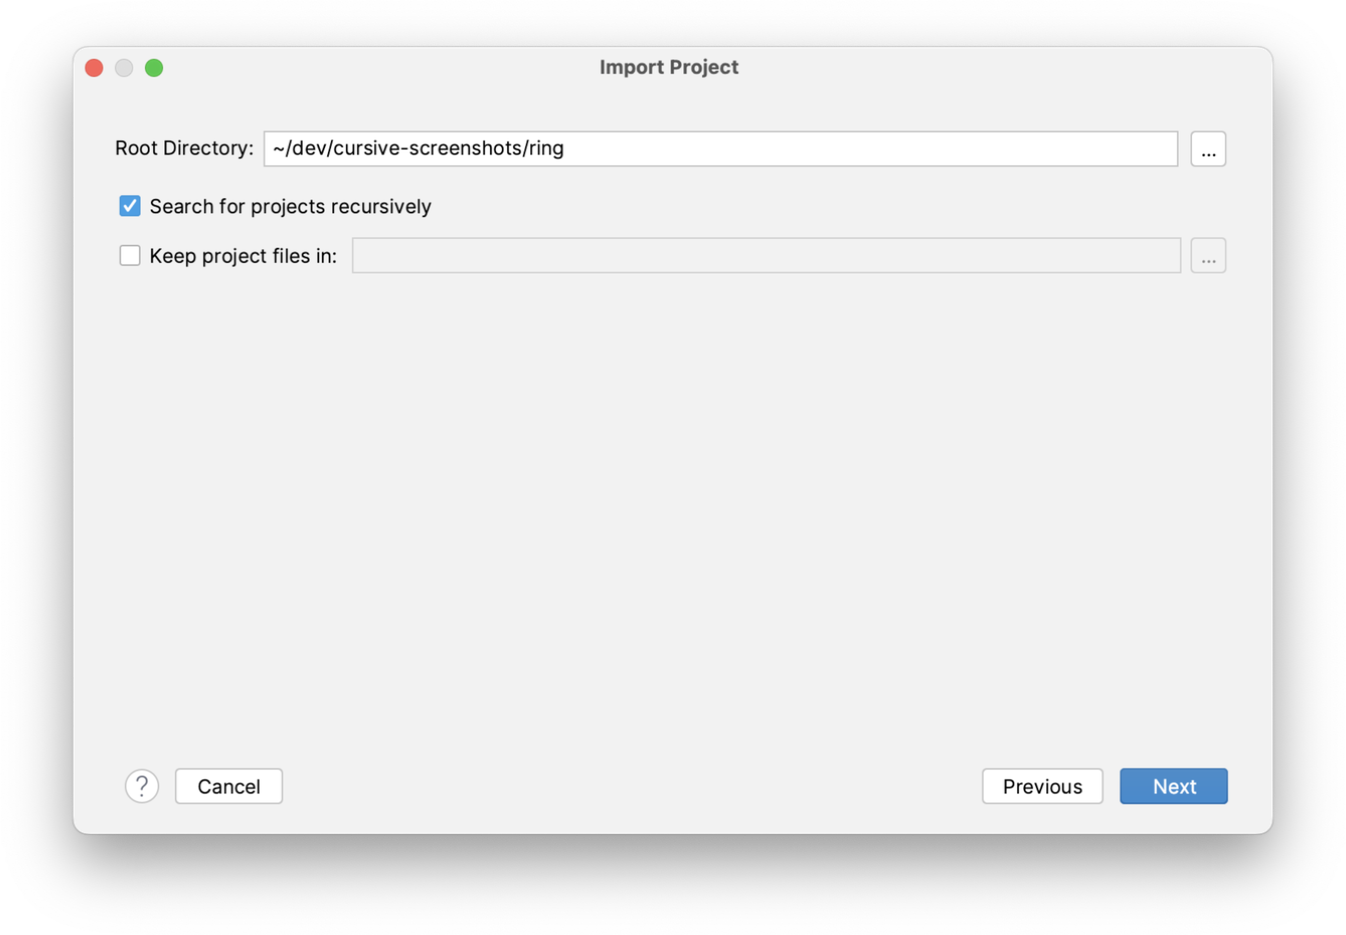
The root directory of your project will be filled in for you. You can choose to search recursively within that directory for other projects (see working with multi-module projects, below), and you can also choose to put the project files in a directory other than the main project directory.
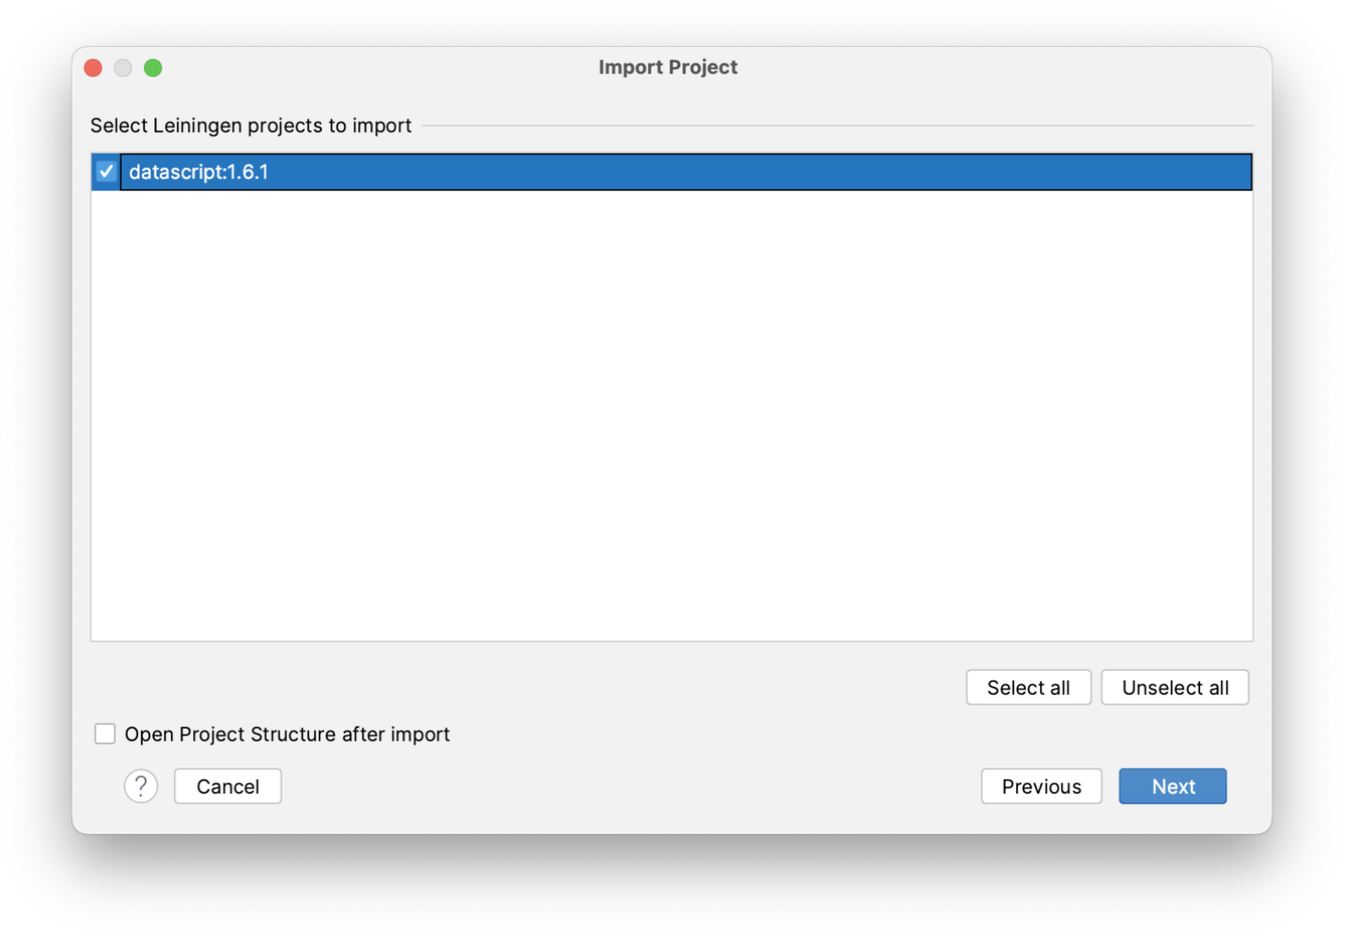
You will then be presented with a list of the Leiningen projects found, and you can select which to import. In this case, since this is a simple single-module project, there's only one.
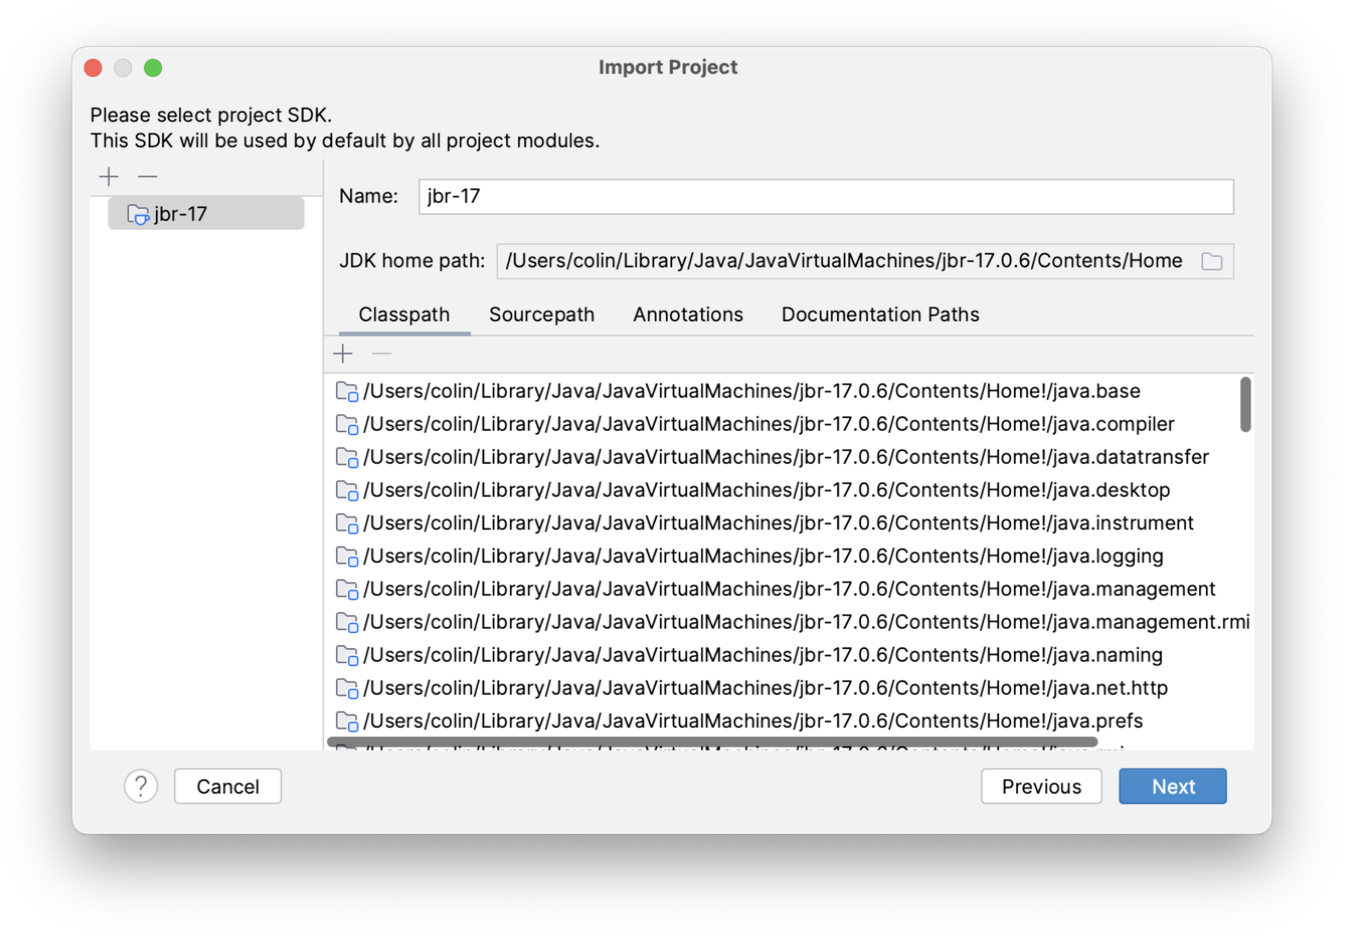
Next, you'll be asked to choose an SDK. This is a generic name that IntelliJ uses for any type of project, but since Clojure is a JVM language this is referring to the Java JDK you would like to use. You can set one up here, or select one you already have set up. If you don't have one already installed IntelliJ will create one for you which uses the JRE bundled with IntelliJ itself. This works fine for Clojure and means that you don't need to download a JDK to get started.
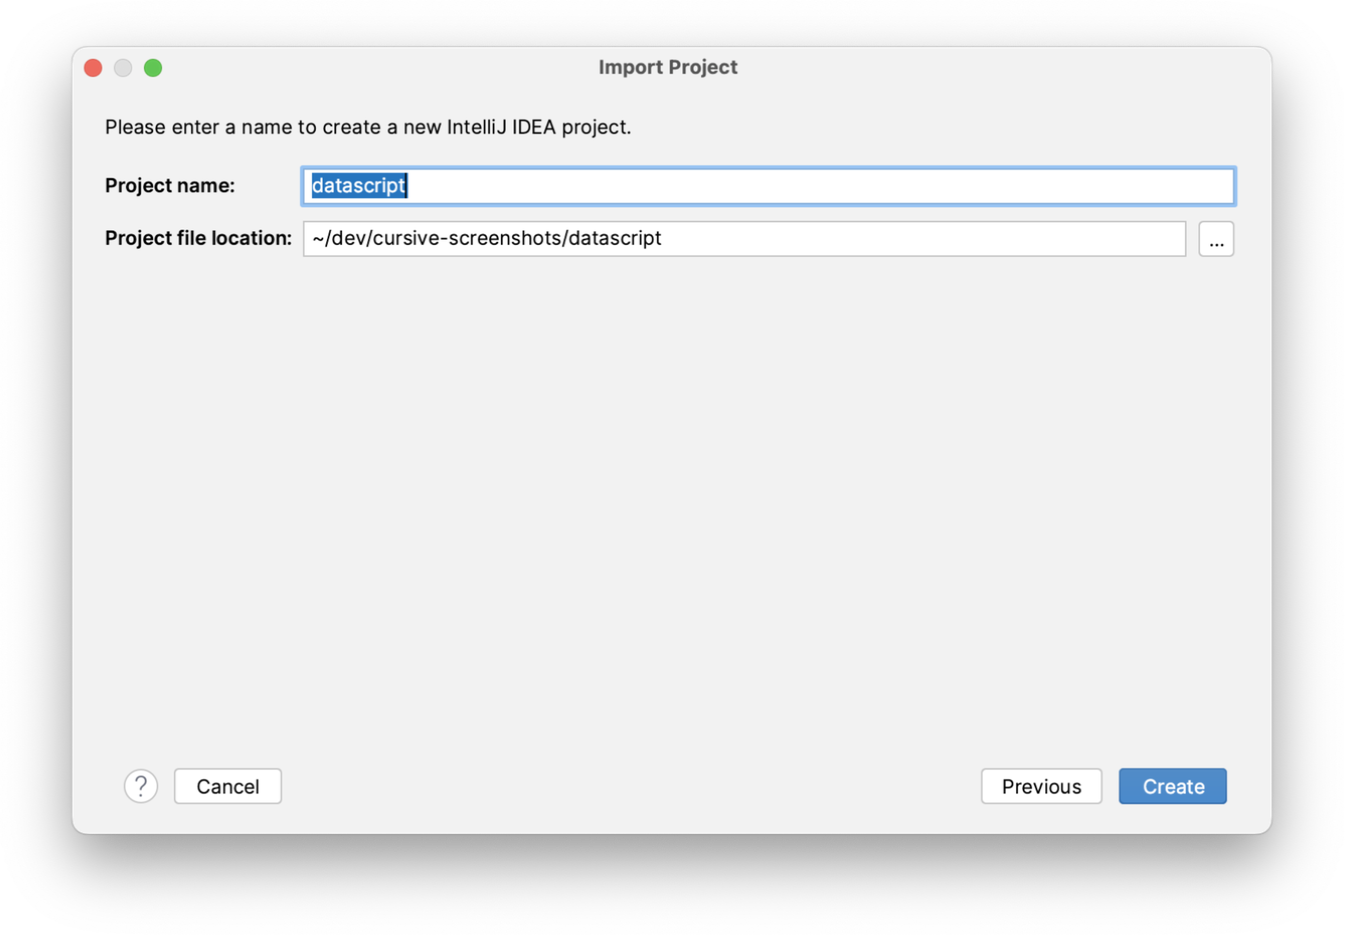
Next, confirm your project name and location, and then press 'Finish' to actually import the project.
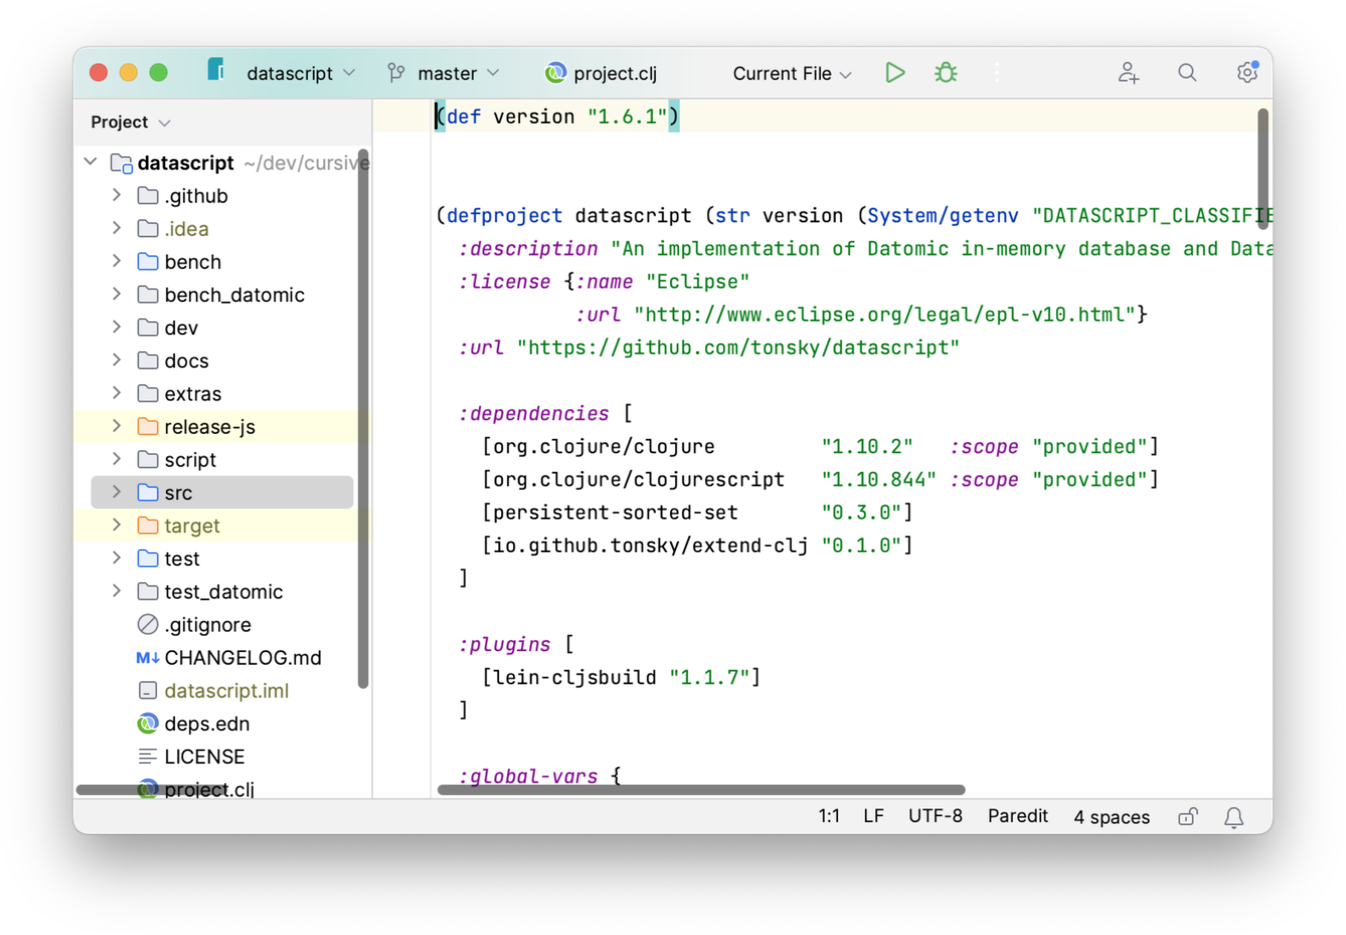
Your project will then be opened and is ready to use.
Working with profiles
Often Leiningen projects will use profiles for different situations. Since profiles will often add source roots and
dependencies that you'll need when working with your source code, you can let Cursive know which ones it should use
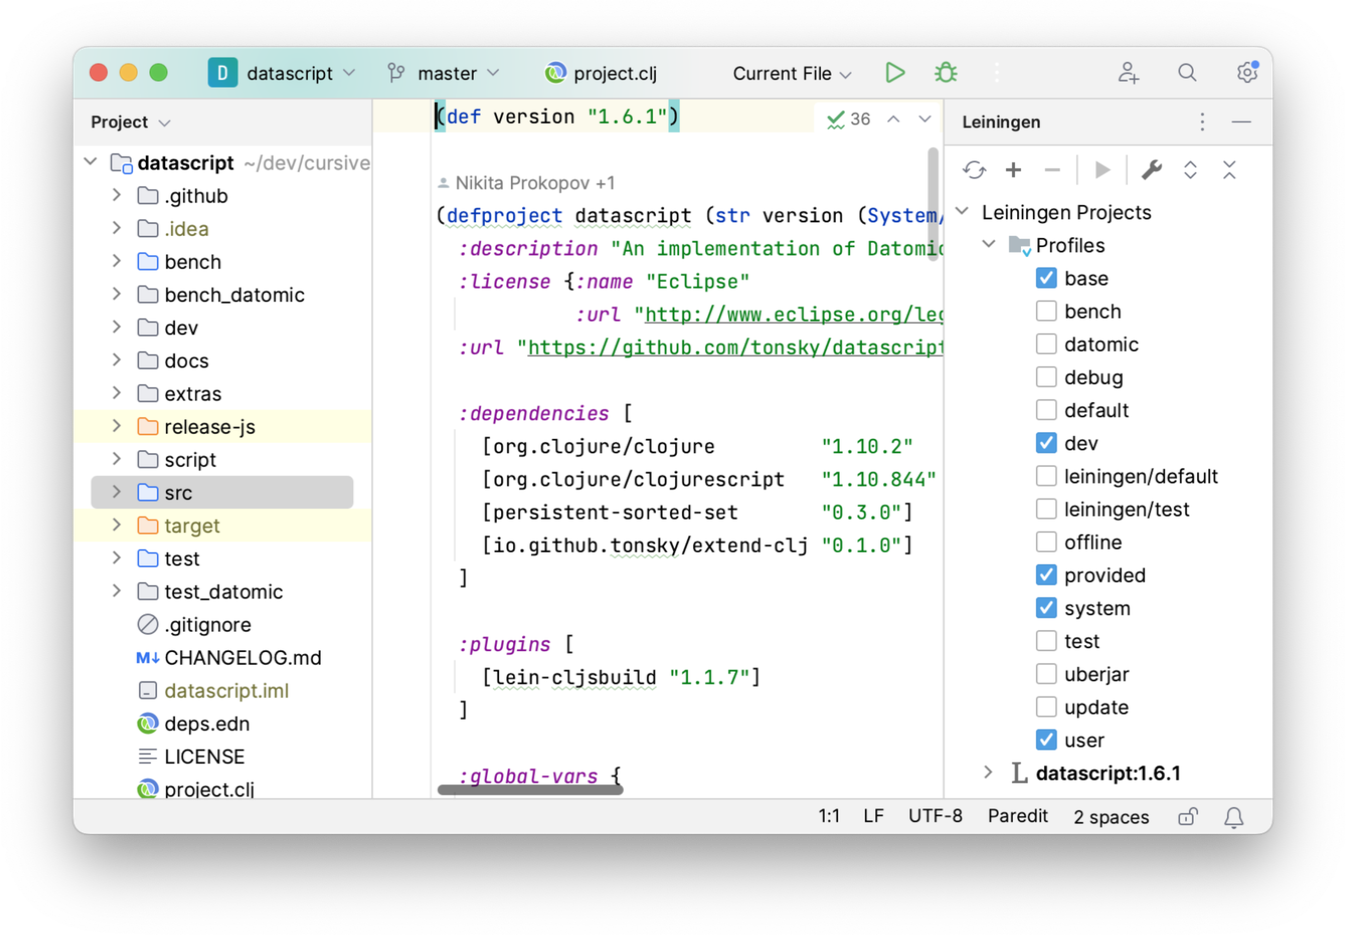
when synchronising your project. For example, our example project has sources under test and dev in the dev
profile, so we'll enable that profile when working with our project so that Cursive will mark those source roots
correctly and add any required dependencies to the project.
To do that, open the Leiningen toolwindow, then expand out the Profiles tree. Select the profiles you'd like to
use when synchronising, then refresh your project using the icon.
Viewing your project dependencies
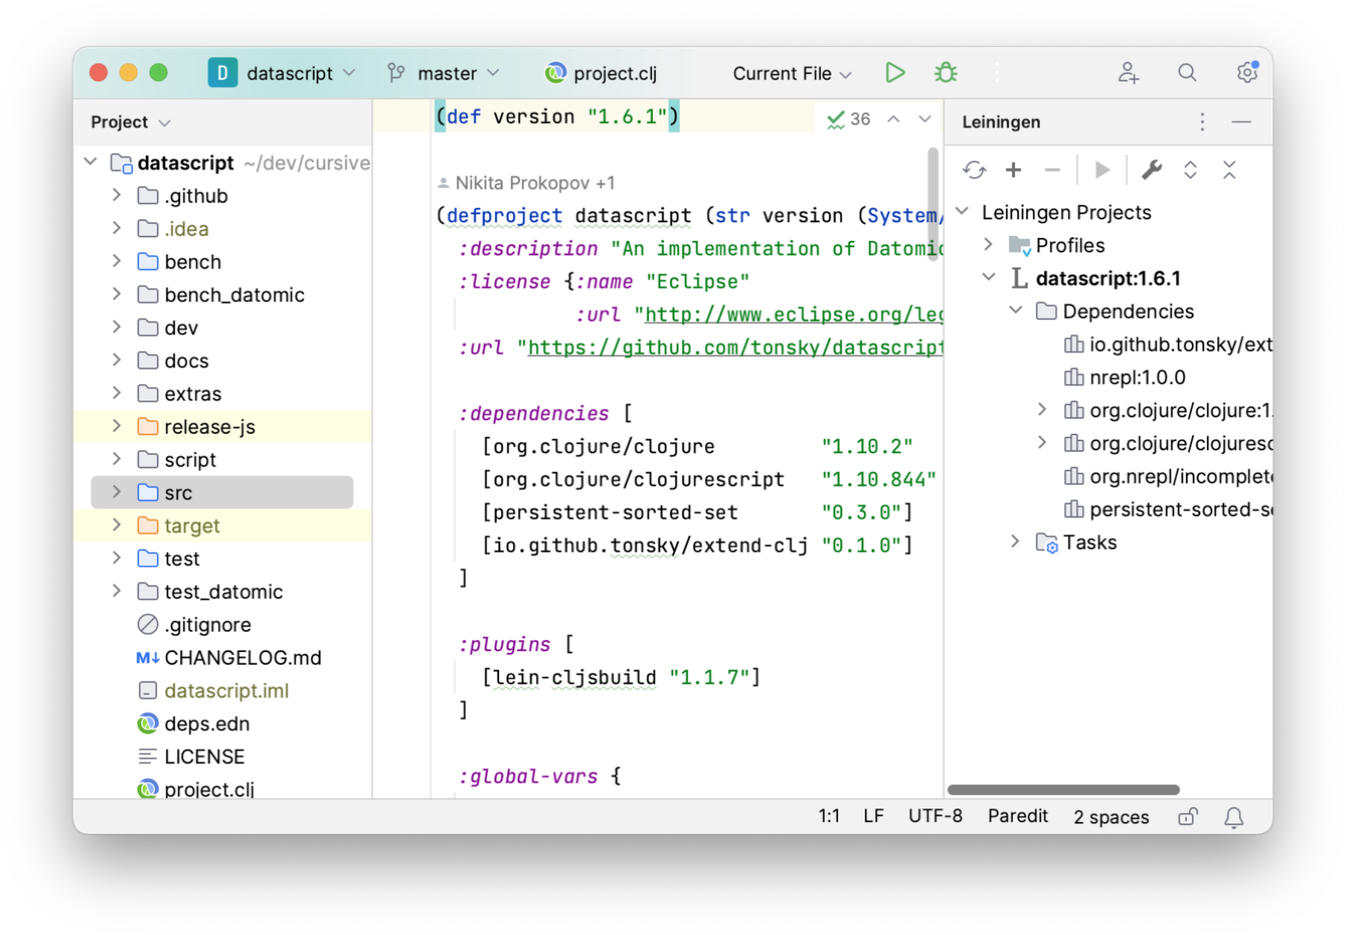
One thing that is very useful when working with lein is being able to see a tree of the dependencies of your project.
On the command line you would use lein deps :tree to show this, but Cursive will show you this within the IDE too,
also in the Leiningen toolwindow. The dependencies are nested in a tree structure so you can see how each dependency
was pulled into your project:
Running Leiningen tasks
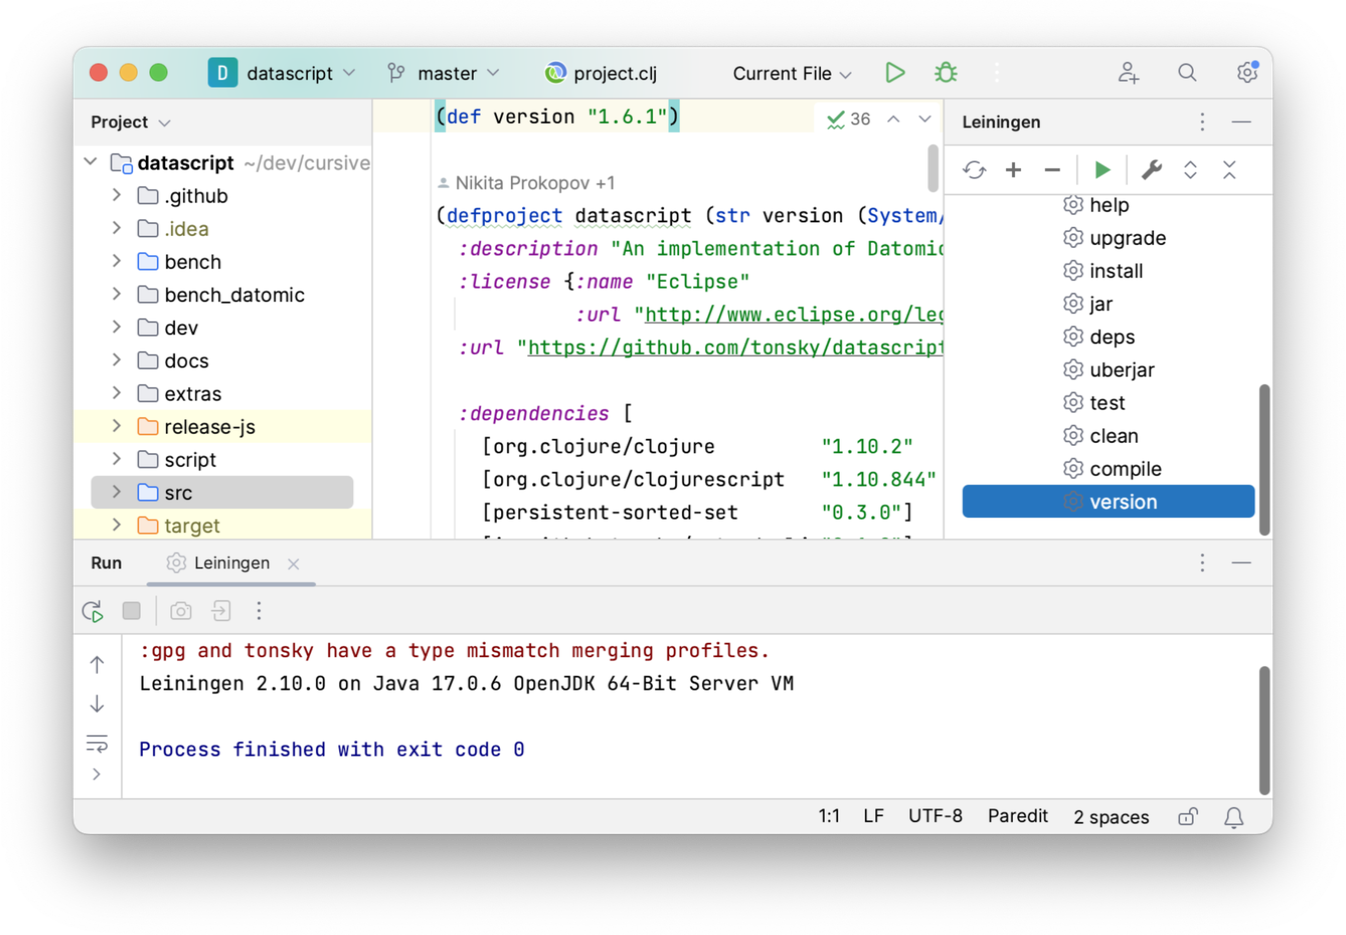
The Leiningen tool window also holds a list of the most common tasks to run. You can select a task and run it using
the icon in the tool window toolbar.
Refreshing Leiningen dependencies
When you have updated your project.clj file, you can press the icon to
re-read the project file and refresh the project dependencies. Note that this is not performed automatically when the
project.clj is updated, unlike the Maven plugin.
Working with Package Search
Cursive has full support for IntelliJ's Package Search feature when working with Leiningen. You can search for dependencies, add them to your project, see which versions are out of date, etc. You can find this in the Dependencies toolwindow. JetBrains' full documentation for this feature is here.
Working with multi-module projects
If you have a more complex project with multiple modules, Cursive will detect it automatically and set everything up. When importing, make sure you check "Search for projects recursively".
Select the projects you would like to import from the list of discovered projects. Their location within the project is displayed along with the artifact details.
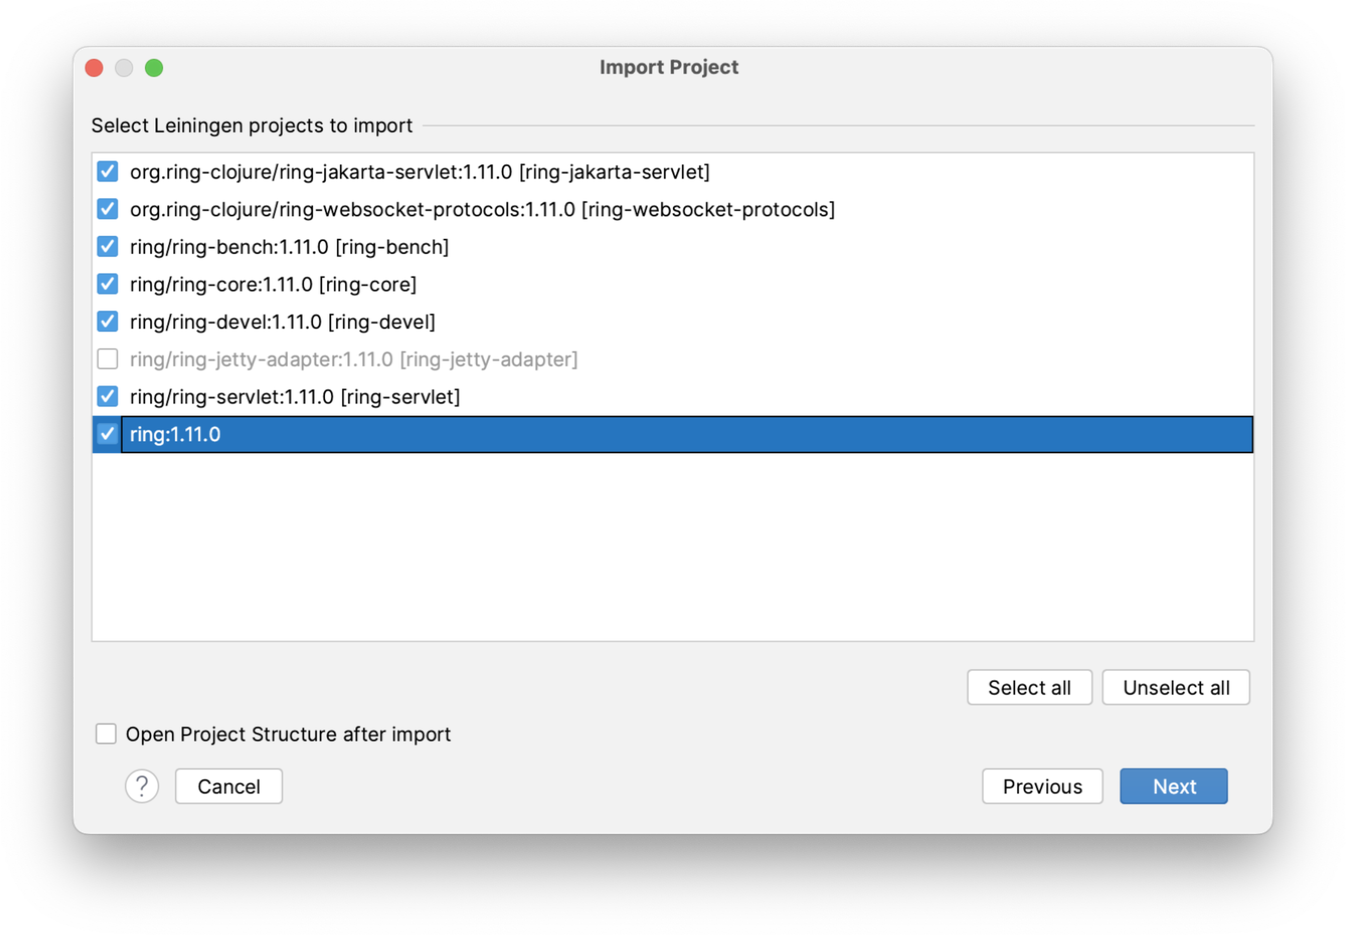
And your project will be set up. An IntelliJ Module will be created for each Leiningen project, and dependencies between them and the appropriate library dependencies will be set up as well.
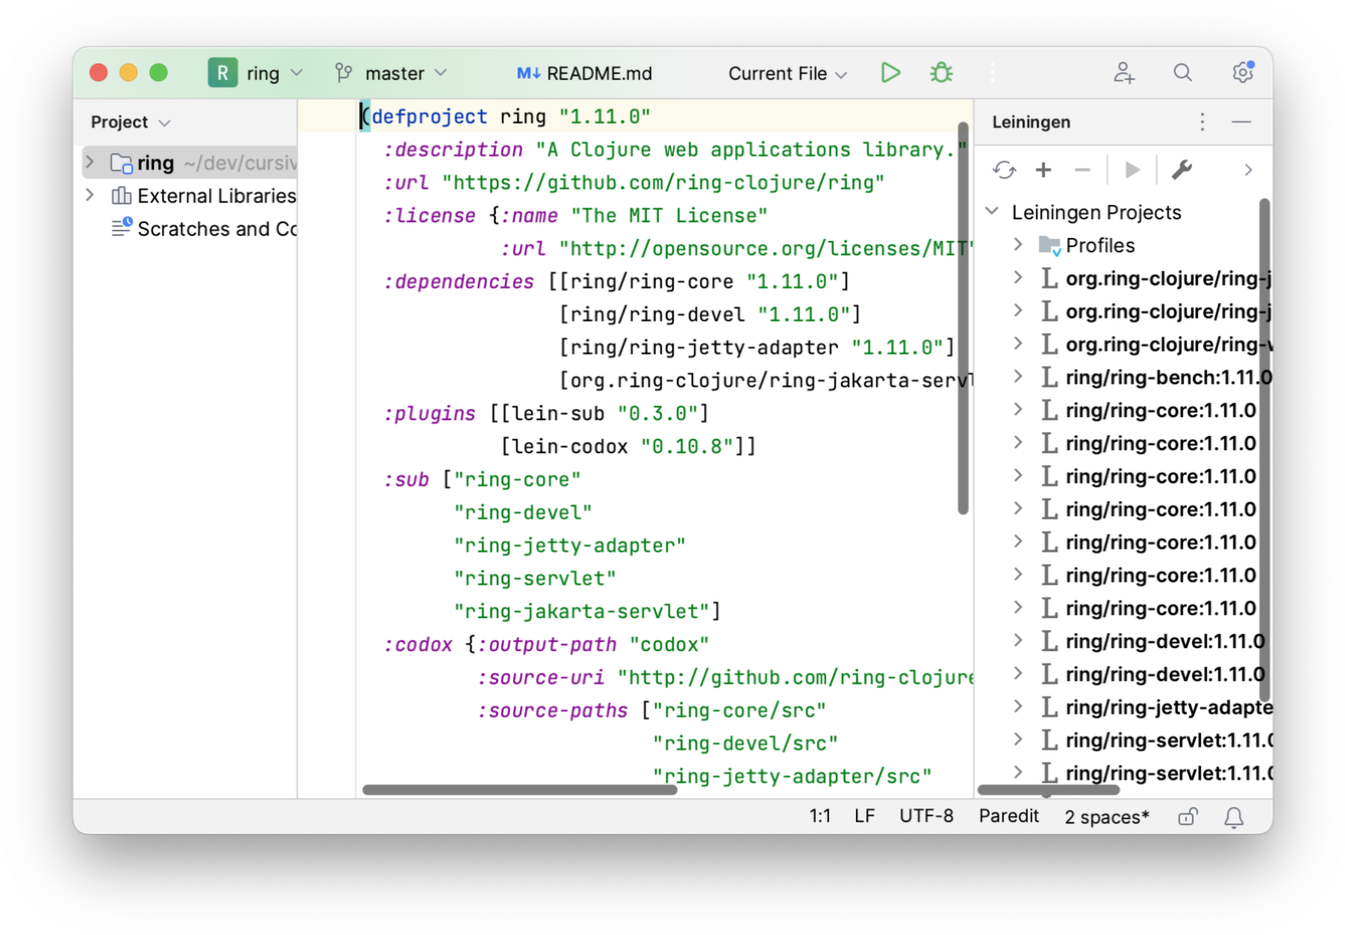
You can then add new modules to the project using either the button in the
Leiningen tool window, or using the context menu in the project tool window. You can remove Leiningen modules from the
project and remove the corresponding IntelliJ module using the
in the Leiningen tool window.
Checkout Dependencies
Leiningen's standard mechanism for managing multi-module projects is to use Checkout Dependencies. Cursive fully supports checkout dependencies and will add the appropriate modules and dependencies automatically.
← User Interface Working with Deps →
