Getting to REPL
When programming Clojure, developers use the REPL (Read Eval Print Loop) extensively. The usual workflow is to develop interactively, building your program up bit by bit and evaluating as you go in the REPL. Let's get a basic project going and start a REPL for it.
Starting a new project
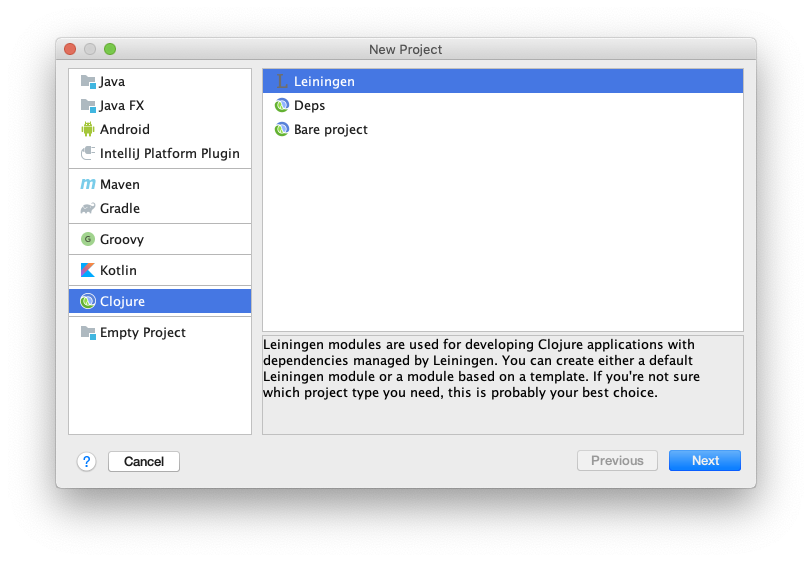
Here's how to start a new project. From the welcome screen, click the "Create New Project" link, or if you already have a project open in IntelliJ you can use . In the following dialog, choose "Clojure" from the list of project types on the left-hand side. You'll then have a list of Clojure project types to choose from on the right.
All your project needs to work is to have the Clojure jar attached to it, but most developers prefer to use a build tool such as Leiningen or deps.edn to manage their dependencies and to handle things like running programs and starting REPLs. We'll use Leiningen in this example:
You don't need Leiningen installed on your computer for this, Cursive will automatically download it when it's first required. On the next screen, give your project a name and decide where to put it:
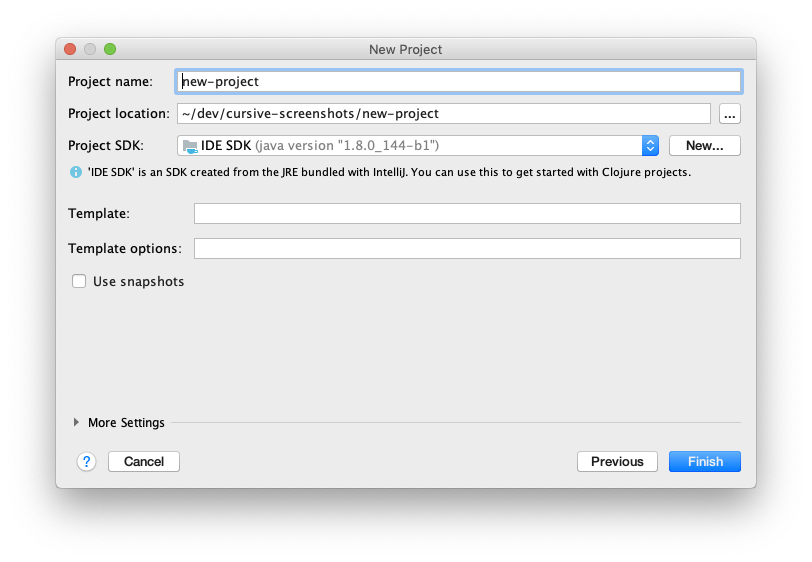
On this screen you're also asked to choose a "Project SDK". On the JVM, this means the JDK or JRE you want to use. If you have a JDK installed then click "New..." to set it up in IntelliJ, it will detect it automatically. If you don't have one already installed Cursive will create one for you called "IDE SDK", which uses the JRE bundled with IntelliJ itself. This works fine for Clojure and means that you don't need to download a JDK to get started.
There are a few other options there for the Leiningen template to use, but for a simple project we won't worry about those for now. Click Finish and you'll have a new project! It might take a short while to create, depending on whether Cursive has to download Leiningen and so on.
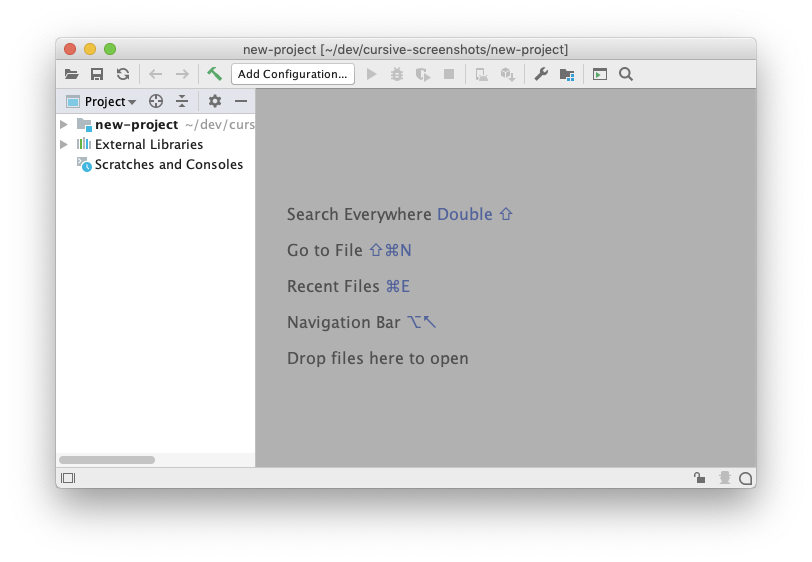
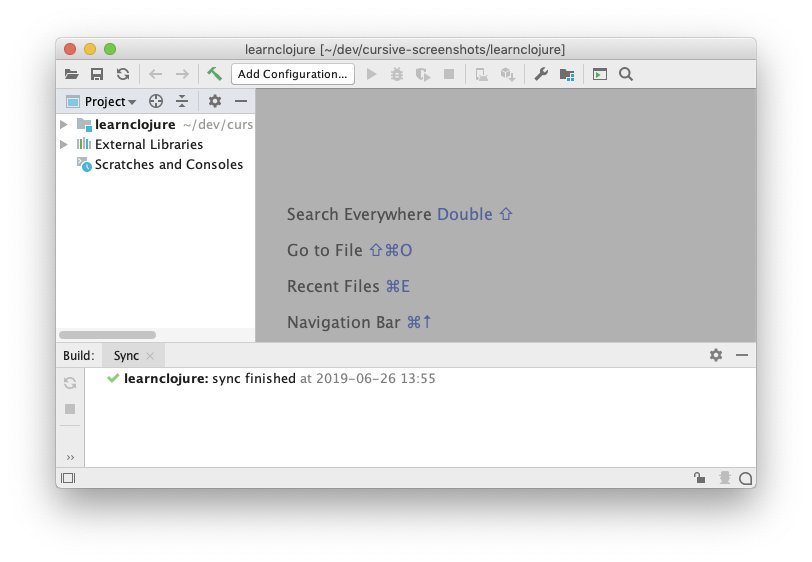
Now let's get a REPL running. The quickest way to do this is to expand out the project
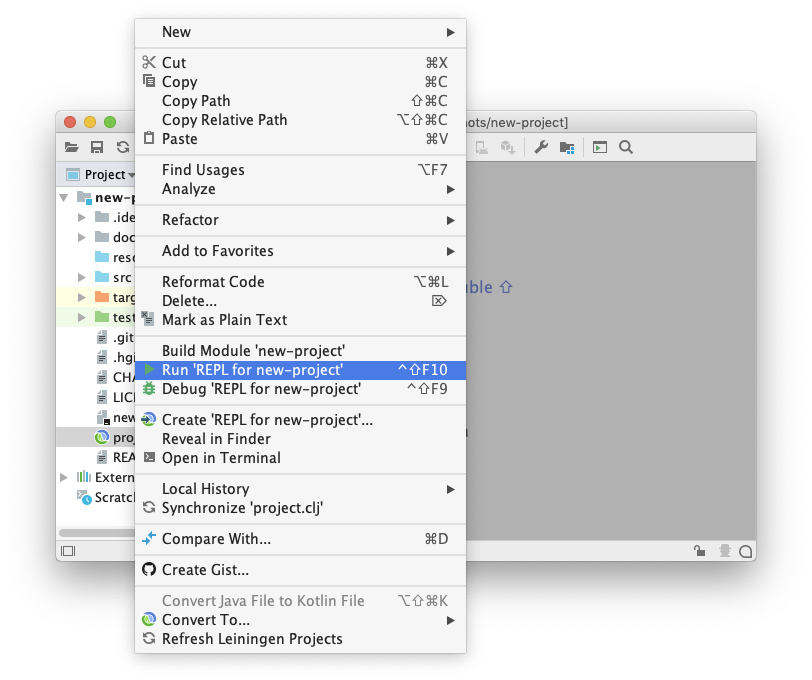
tree in the project view on the left and then right click on the project.clj file.
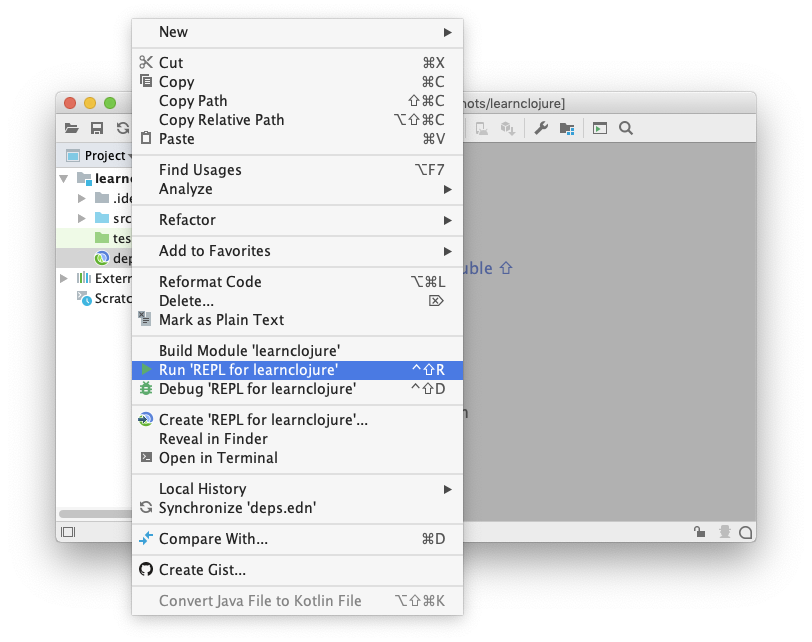
From the context menu, choose the "Run 'REPL for <project-name>''" option and this
will start your REPL.
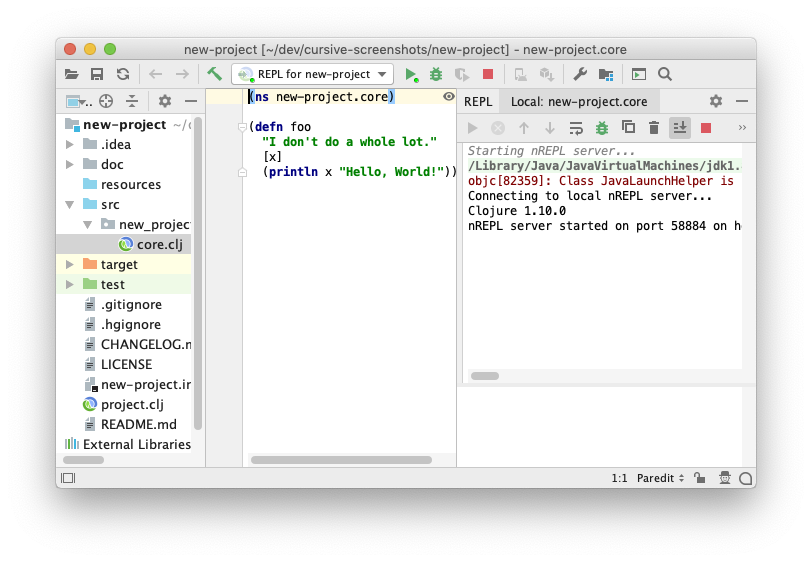
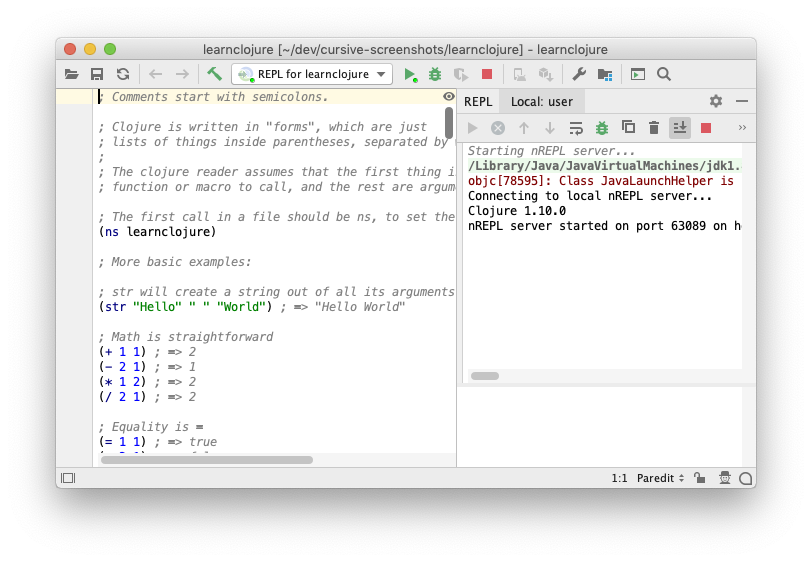
The REPL pane will open on the right hand side, and after some initialisation will be waiting for input. You can type into the input pane at the bottom of the REPL, and results and output will be shown in the output pane at the top. The current namespace is shown in the tab containing your REPL.
You can see that in the dropdown in the toolbar at the top of the IDE window, a run configuration has been created with the name of your new REPL. If you need to stop it and want to start it again, you can use the icons to the right of the dropdown to do so.
Now you can open up your source files in the editor, and start hacking away!
Importing an existing project
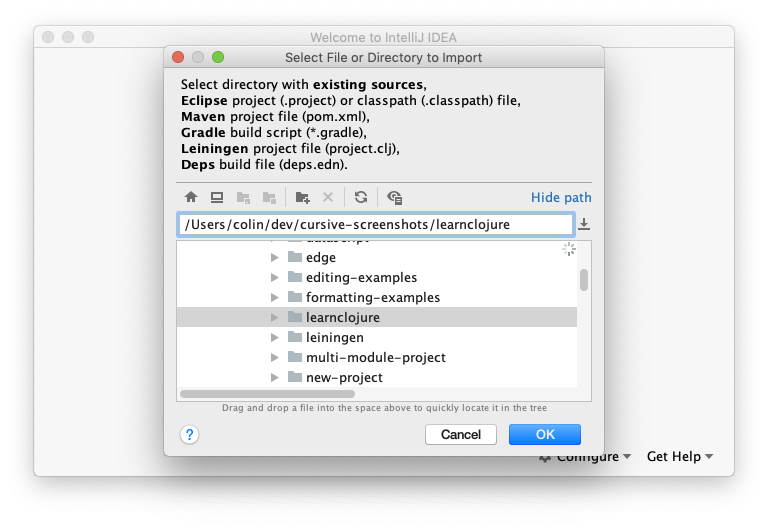
If you already have an existing project you'd like to start with, let's see how to do that. From the welcome screen, click the "Import Project" link, or if you already have a project open in IntelliJ you can use . For this example, we'll open a project managed with Deps.
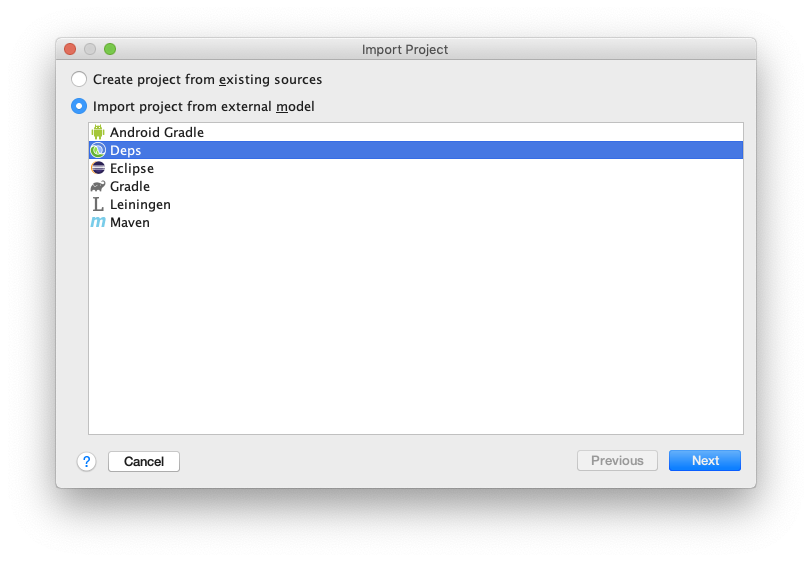
IntelliJ will prompt you for the type of project you're importing, in this case we'll choose Deps.
On the next page you can configure how your deps project should be set up, for now you can leave all this as it is, we'll discuss what all this means in the Deps section later. If you're using Windows, be sure to check out the configuration section over there as you'll need to do a bit more configuration.
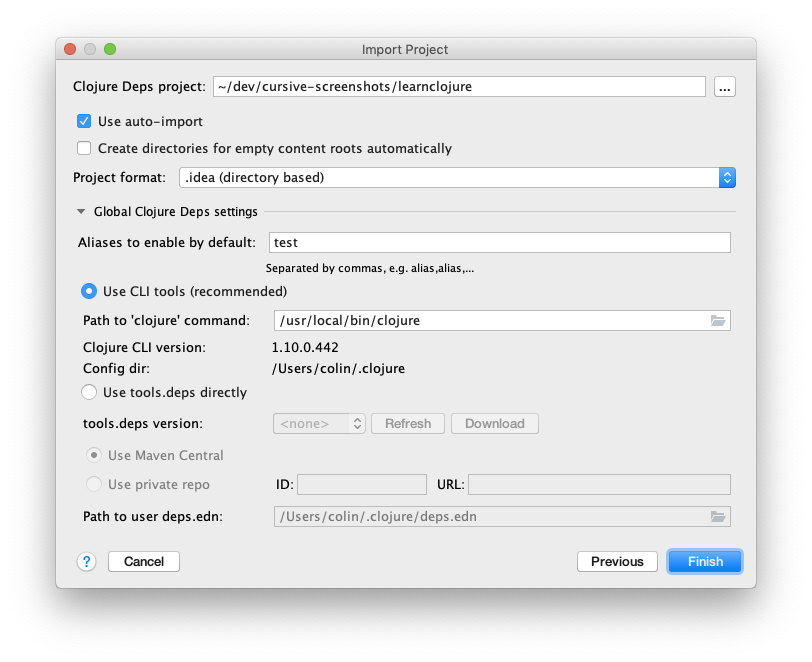
Click "Finish", and as before Cursive will import your project after a short while and you'll be ready to get going!
As before, we'll start our REPL by right-clicking on the deps.edn file and selecting
"Run 'REPL for <project-name>'".
Again, the REPL pane will open on the right hand side, and after some initialisation will be waiting for input. You can type into the input pane at the bottom of the REPL, and results and output will be shown in the output pane at the top. The current namespace is shown in the tab containing your REPL.
← Installing User Interface →