Working with Deps
Deps is a simple tool for managing dependencies in Clojure projects. It's designed by the Clojure core team to facilitate two main things - managing dependencies and creating a classpath. It deliberately takes a different approach to Leiningen which is a batteries-included do-everything tool, but Deps has seen a lot of uptake because for the projects it works for it works very well, and it's considerably simpler than Leiningen and other alternatives. Let's see how to use Deps with Cursive.
Configuring Deps
Deps does require us to set a few things up before we get started. Deps is integrated with the Clojure command line tooling, but at the time of writing the command line tools are still complicated on Windows. So the install instructions will depend on your OS. You can also perform this configuration when creating or importing your first Deps project, as shown below.
macOS and Linux
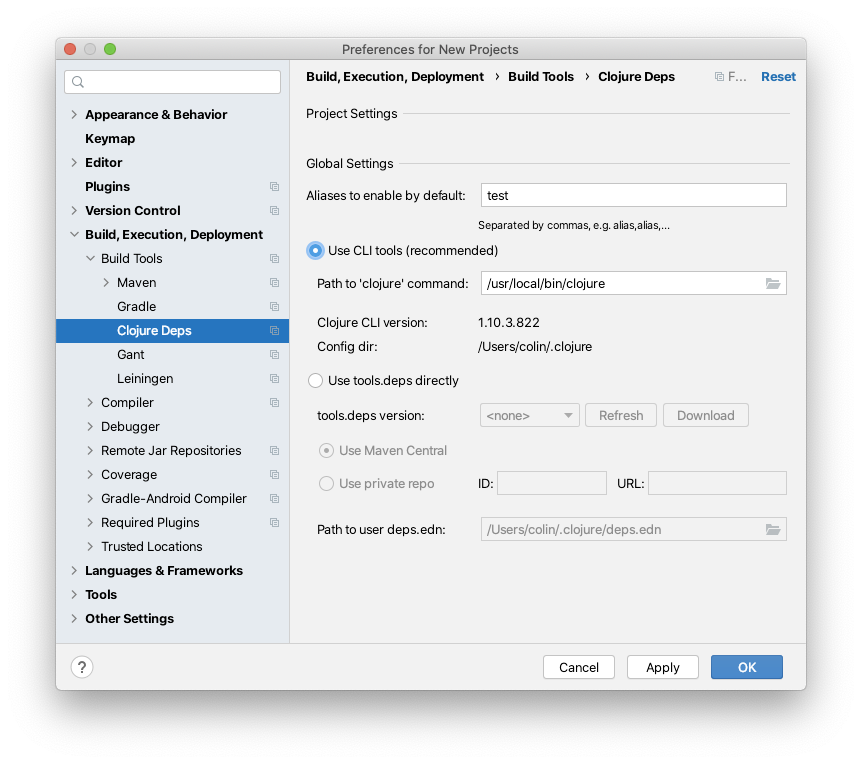
Install the command line tools according to the instructions. Then, go to Settings→Build, Execution, Deployment→Build Tools→Clojure Deps in the tree on the left.
In this panel, select "Use CLI tools", and enter the path to the clojure command if required. Cursive will try to
find it in various standard locations, but if your package manager installs it in a non-standard location enter the
path here. When the path is correct, Cursive should display the CLI version and config dir location as shown here. If
that's showing, then you should be good to go!
Windows
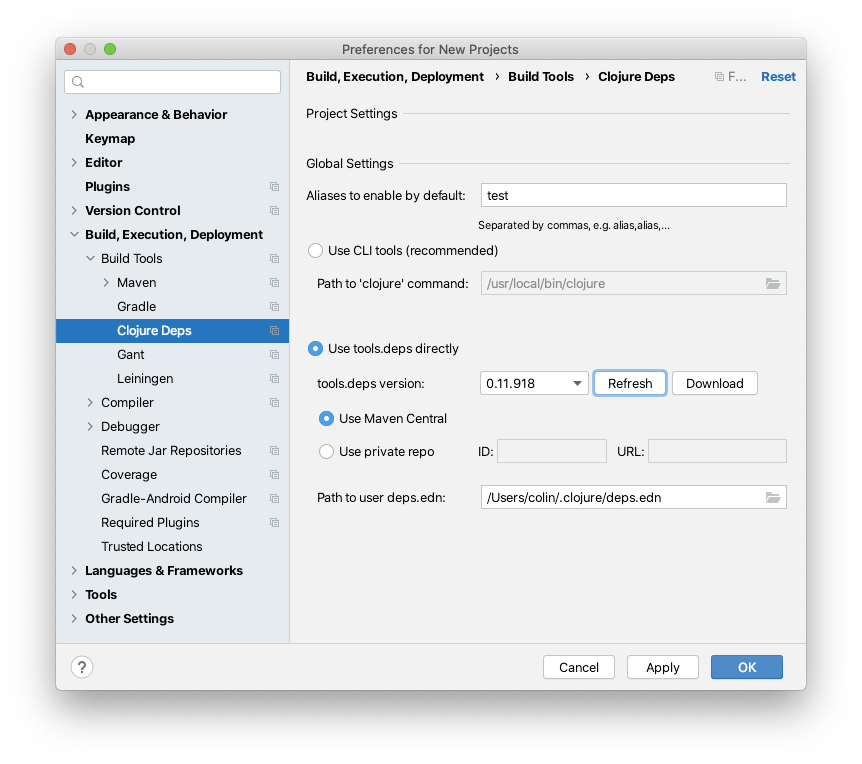
If you're running Windows, then select the "Use tools.deps directly" option. This means that Cursive will download
tools.deps.alpha and use it as a library rather than calling out to the command line. Press Refresh, and Cursive
will download the list of available versions - generally the most recent is the one you want. Once you have the version
you want selected in the dropdown, press Download and Cursive will download that version to use.
If you're in an environment where you don't have outbound access to the internet and you're using an internal Maven repo to fetch your deps, you can use the "Use private repo" option and specify the ID and the URL of your internal repo. Cursive will also respect the IntelliJ HTTP proxy configuration when fetching Deps.
You can also specify the path to the user deps.edn file you'd like Cursive to use, this can be useful when sharing
config with WSL.
Create a new project with Deps
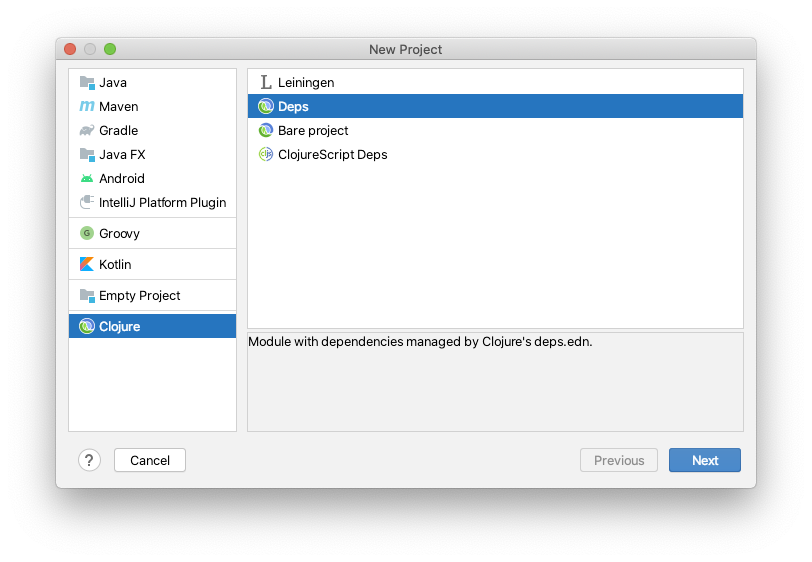
To create a new project in IntelliJ, if you're at the welcome screen, click the "Create New Project" link, or if you already have a project open in IntelliJ you can use . In the following dialog, choose "Clojure" from the list of project types on the left-hand side. You'll then have a list of Clojure project types to choose from on the right. Here you can choose "Deps".
On the next screen, give your project a name and decide where to put it:
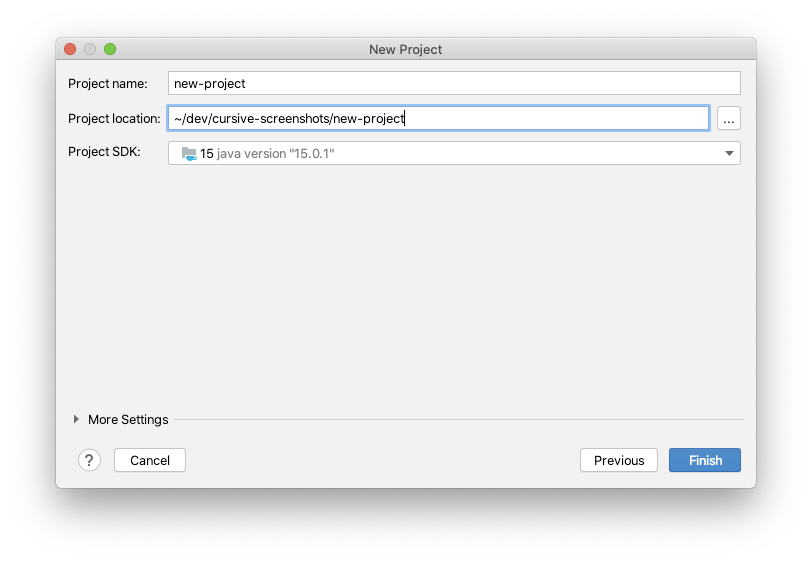
On this screen you're also asked to choose a "Project SDK". On the JVM, this means the JDK or JRE you want to use. If you have a JDK installed then click "New..." to set it up in IntelliJ, it will detect it automatically. If you don't have one already installed IntelliJ will create one for you which uses the JRE bundled with IntelliJ itself. This works fine for Clojure and means that you don't need to download a JDK to get started.
Then, when you click "Finish" you'll have a new project to work with!
Quick project import
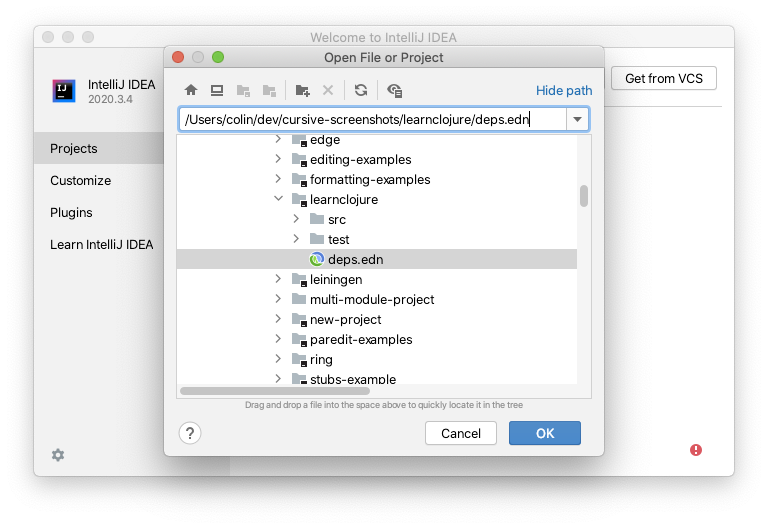
For most existing projects you don't need to explicitly import them. Just use or select
"Open File or Project" from the welcome screen, and select either the deps.edn or the containing directory:
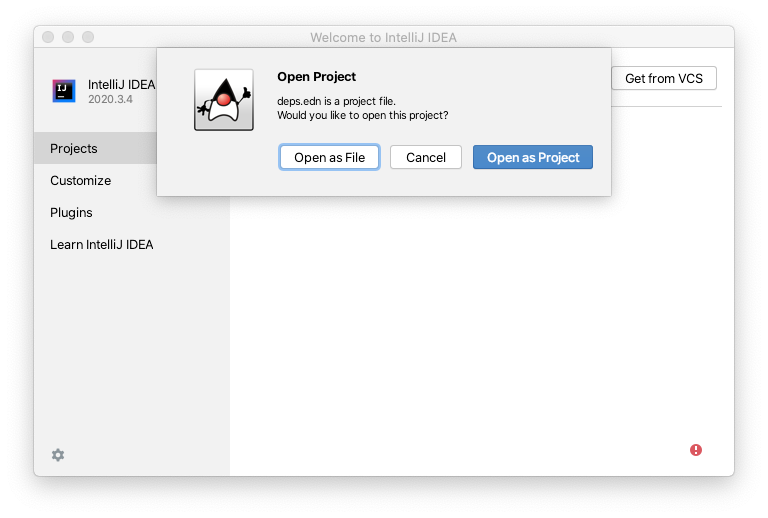
Confirm that you would like to open it as a project:
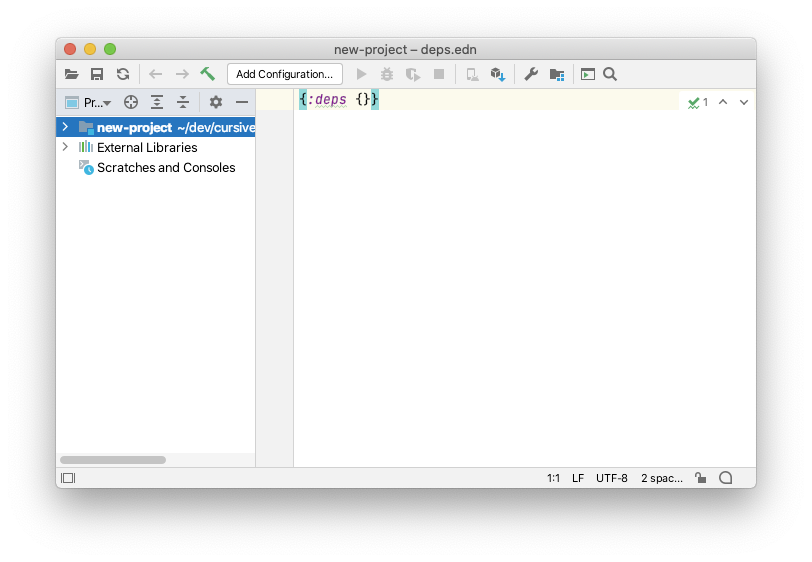
And your project will be automatically imported:

Import an existing Deps project
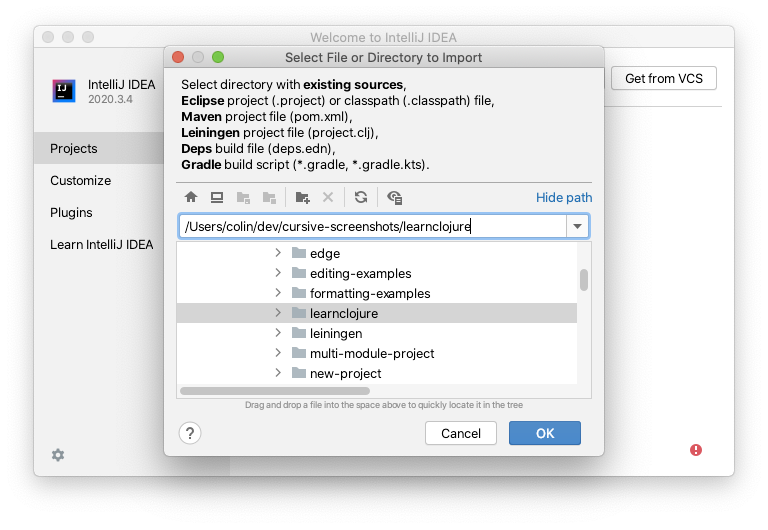
For more control over how your project is imported, you can use the Import Project workflow.
To do this you can use . Here, you can select either the deps.edn file
or the directory containing it.
If required, select "Import project from external model" and select Deps.
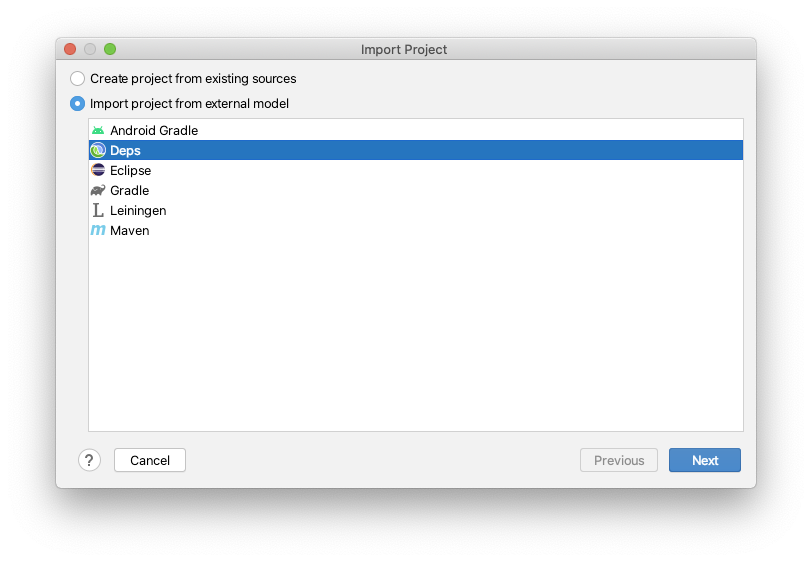
The root directory of your project will be filled in for you. You can choose to search recursively within that directory for other projects (see Multi Module Projects, below), and you can also choose to put the project files in a directory other than the main project directory.

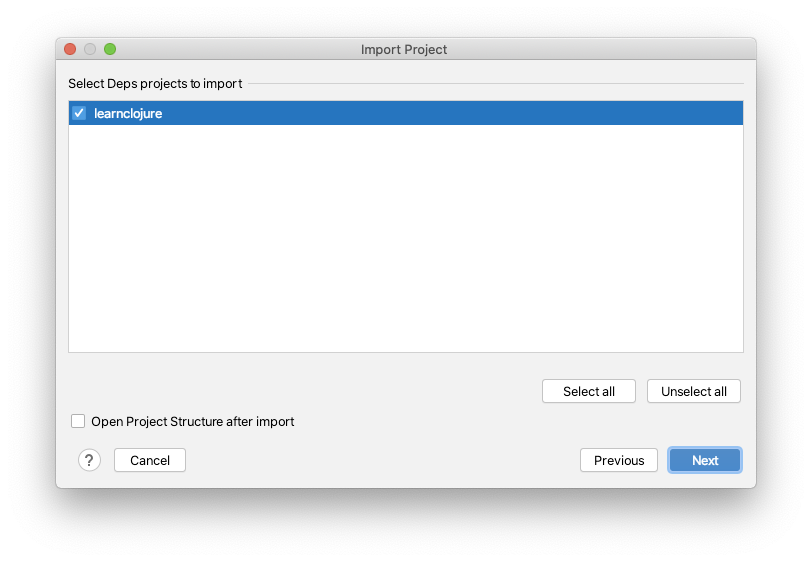
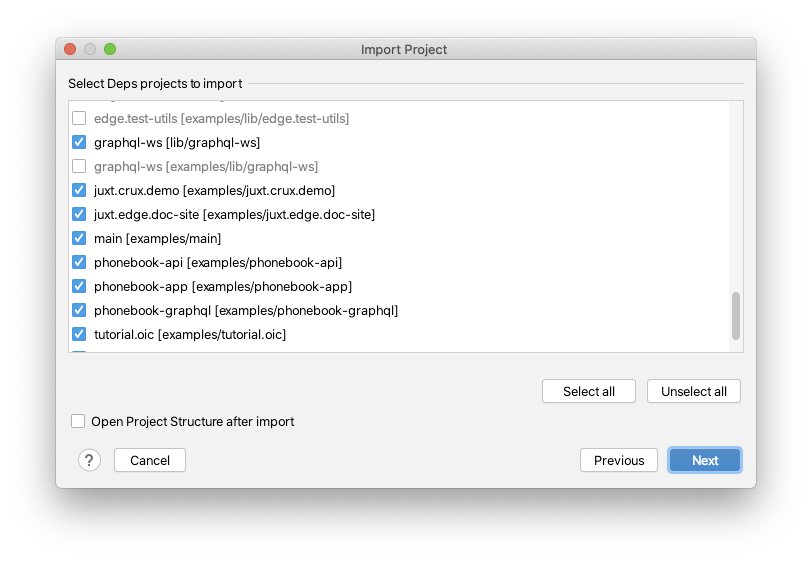
You will then be presented with a list of the Deps projects found, and you can select which to import. In this case, since this is a simple single-module project, there's only one.
Next, you'll be asked to choose an SDK. This is a generic name that IntelliJ uses for any type of project, but since Clojure is a JVM language this is referring to the Java JDK you would like to use. You can set one up here, or select one you already have set up. If you don't have one already installed IntelliJ will create one for you which uses the JRE bundled with IntelliJ itself. This works fine for Clojure and means that you don't need to download a JDK to get started.

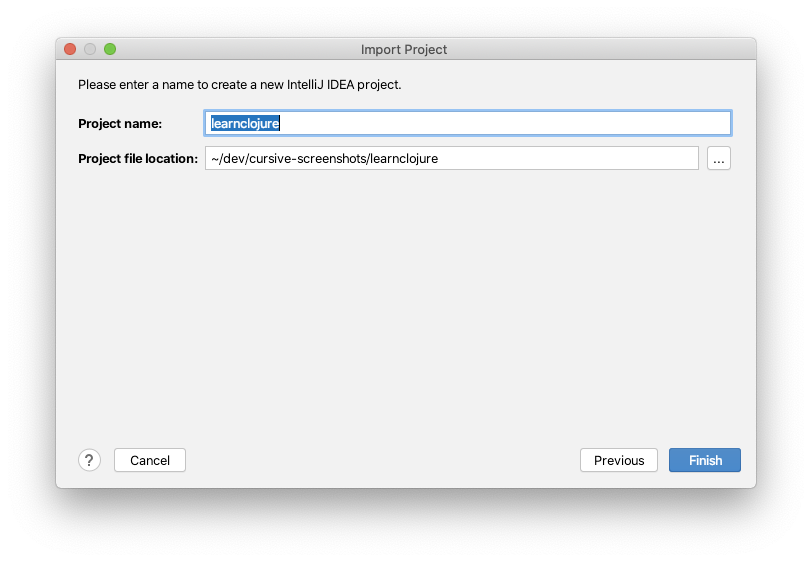
Next, confirm your project name and location, and then press 'Finish' to actually import the project.
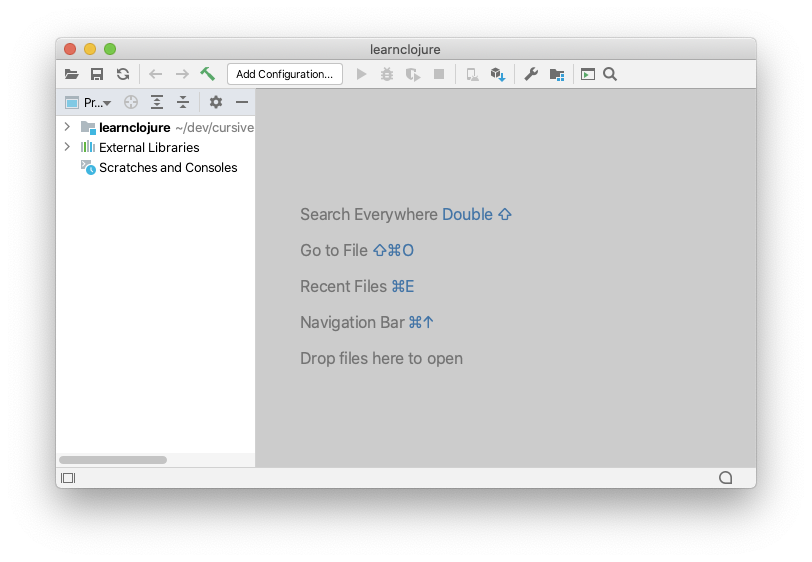
Your project will then be opened and is ready to use.
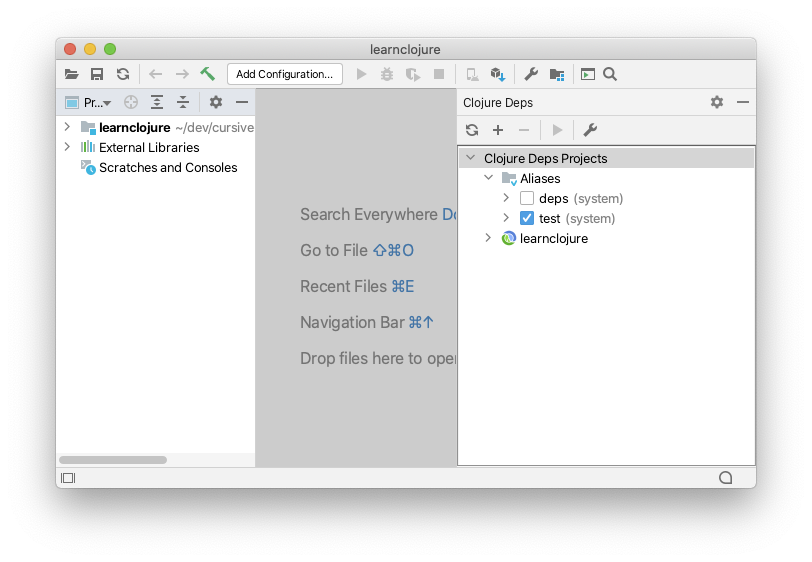
Working with aliases
Often Deps projects will use aliases for different situations. Since aliases will often add source roots and dependencies that you'll need when working with your source code, you can let Cursive know which ones it should use when synchronising your project.
To do that, open the Deps toolwindow, then expand out the Aliases tree. Select the aliases you'd like to
use when synchronising, then refresh your project using the  icon.
icon.
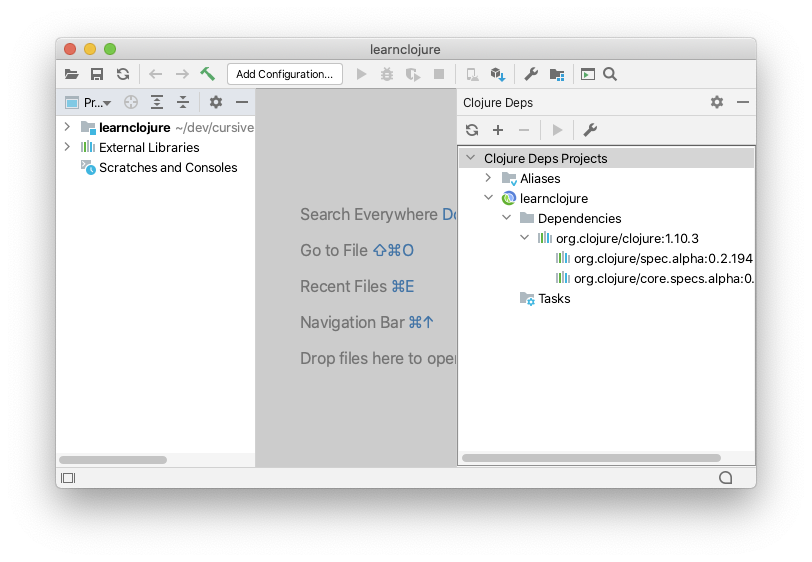
Viewing your project dependencies
One thing that is very useful when working with Deps is being able to see a tree of the dependencies of your project.
On the command line you would use -Stree to show this, but Cursive will show you this within the IDE too,
also in the Deps toolwindow. The dependencies are nested in a tree structure so you can see how each dependency
was pulled into your project:
Refreshing Deps dependencies
When you have updated your deps.edn file, you can press the icon to
re-read the project file and refresh the project dependencies. Note that this is not performed automatically when the
deps.edn is updated, unlike the Maven plugin.
Working with multi-module projects
If you have a more complex project with multiple modules, Cursive will detect it automatically and set everything up. When importing, make sure you check "Search for projects recursively".

Select the projects you would like to import from the list of discovered projects. Their location within the project is displayed along with the artifact details.
And your project will be set up. An IntelliJ Module will be created for each Deps project, and dependencies between them and the appropriate library dependencies will be set up as well.
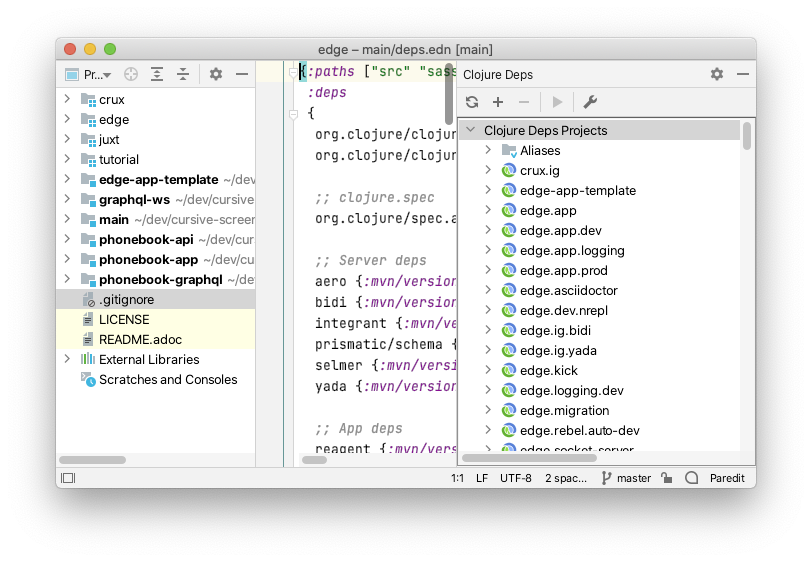
You can then add new modules to the project using either the  button in the
Clojure Deps tool window, or using the context menu in the project tool window. You can remove Leiningen modules from the
project and remove the corresponding IntelliJ module using the
button in the
Clojure Deps tool window, or using the context menu in the project tool window. You can remove Leiningen modules from the
project and remove the corresponding IntelliJ module using the  in the Clojure Deps tool window.
← Working with Leiningen Other Project Types →